
Let’s start! After Unboxing I gathered all the necessary resources such as:
- The build Instructions (pdf) with the accompanying build video from TBS
- Soldering iron, screwdrivers, zip ties, loctite 222 (the purple one)
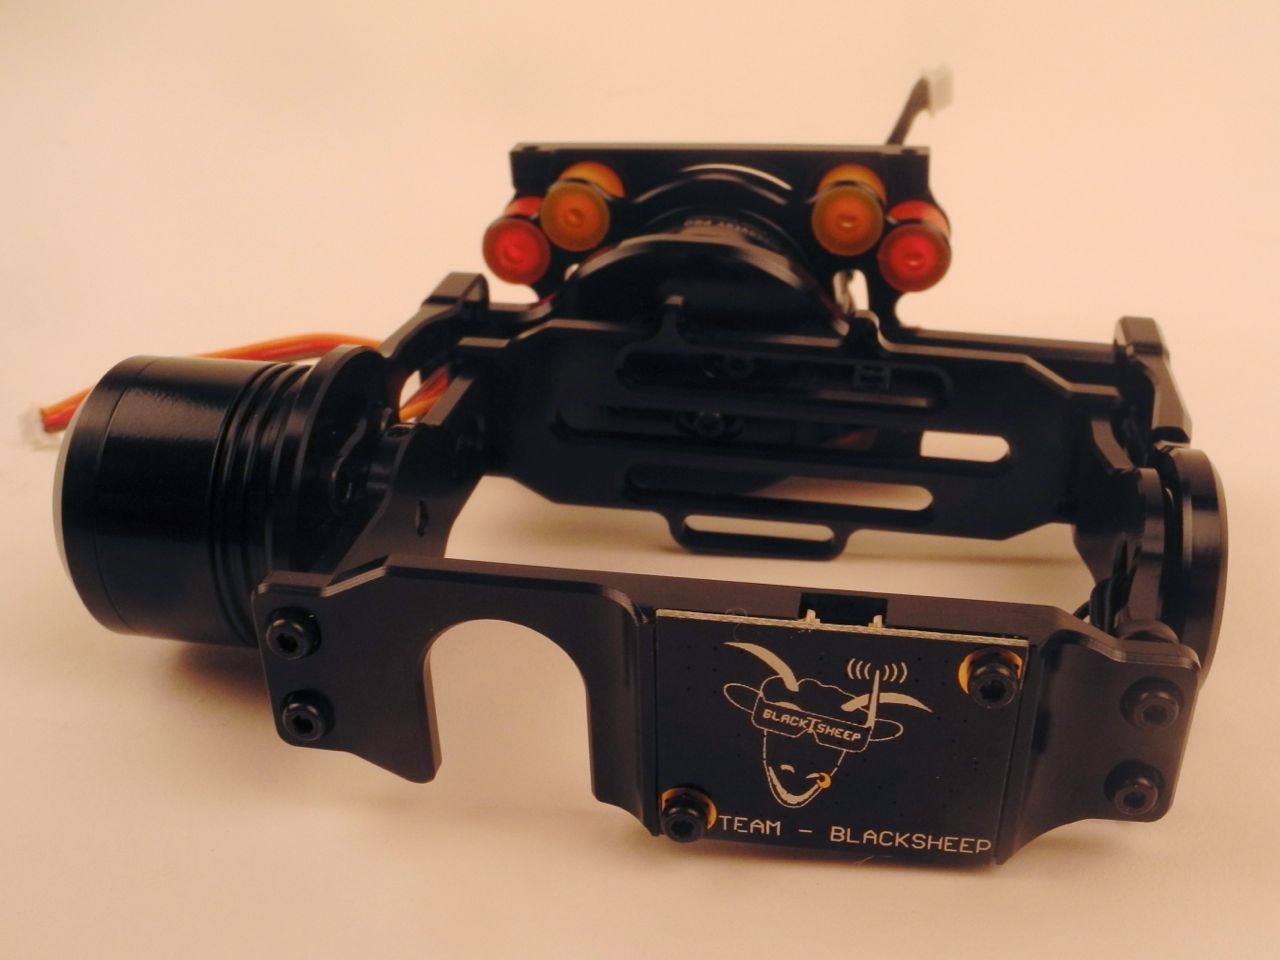
I’ve started with the gimbal assembly, a big puzzle with motors, screws and aluminum parts. The small screws are for the metal parts and some of the short bigger ones (from a separate bag) are for the gimbal motors. The small electronic board was a little bit too big, but after grinding the board on two ends by fractions of a millimeter it fit snugly into the holder. Two tiny little grub screws are used to hold the tilt motor. One is not enough as I had to find out. The cables are attached with zip ties, which have to be attached exactly how the video shows. Otherwise the ends of the zip-ties collided with other parts, preventing the gimbal from turning freely. For the time being I chose the standard red and orange damper configuration. However, this might change as the dampers need to be fine tuned. There are reports of vibrations with the standard setup. All orange seems to be a good option too. I will have to test this out. [Update] The roll axis on my build is 180 degrees wrong and should be flipped around. While the GoPro cage is upright, the dampers are upside down. They should be forward on top and backward on the bottom for a push/pull configuration. [/Update]
Next, I put the gimbal to the side and started with the frame by soldering the ESCs and the battery connector. I started out with a very fine soldering tip but this did not work and I had to mount a fatter soldering tip which could deliver enough heat. This was fairly easy. And I completed the work on the bottom plate with gluing the Naza flight controller with a 3M patch.

Last step of the today was assembling the Tiger 900kv motors. I removed all the screws on the prop holders and mounted them with loctite to the top of the motors. Then I found out that short silver screws and the cross piece in the package are not used. Instead the motors are directly bolted onto the arms with screws out of one of the bags. The quality of theses screws however gave me headaches. None of my standard screwdrivers had a tight fit. Finally, I used a hex key to tighten the screws on the arms. I did not use loctite for now, as the arms are plastic. But if they come loose I might have to reconsider this.
That’s all for the first part of my build log of the TBS Discovery Pro. So far I am positively surprised about how everything is designed (minus the screws). The official build video is sometimes a bit too fast and I needed to rewind it many many times. Stay tuned for the next part of the build!
Check out the image gallery of the whole build. Or move on the part2, part3 or my 2nd build.
3 thoughts on “Build Log TBS Discovery Pro, Part 1”