This is part 2 of the epic TBS Discovery Pro build. It got a bit delayed because I really wanted to show you the Leistkamm Video before finishing my second quadcopter. But now, back to the Discovery Pro.
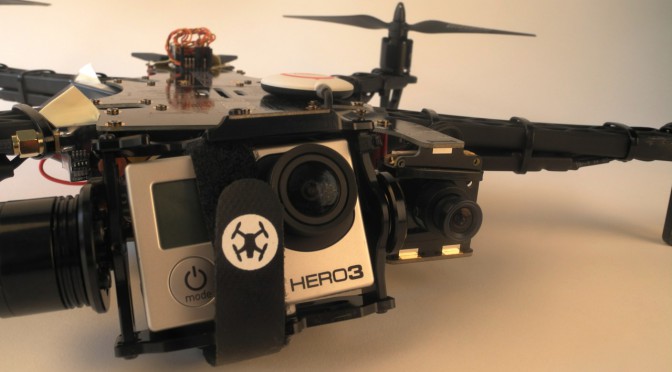
After assembling the gimbal and motors and soldering the bottom plate in the TBS Discovery Pro build part 1, I put all the pieces together. It’s relatively straight forward to mount the four arms and red spacers to the bottom plate and then close up the sandwich with the top pcb plate. All the electronics and wiring is integrated into the frame and aside from the gimbal and controller, there are only a few cables connecting to individual parts. During the build I got to appreciate zip-ties for fixing all sorts of things, such as the electronic speed controllers (ESCs) onto the arms and the flight camera to the frame. The last piece I screwed on was the gimbal and it slides from the front.
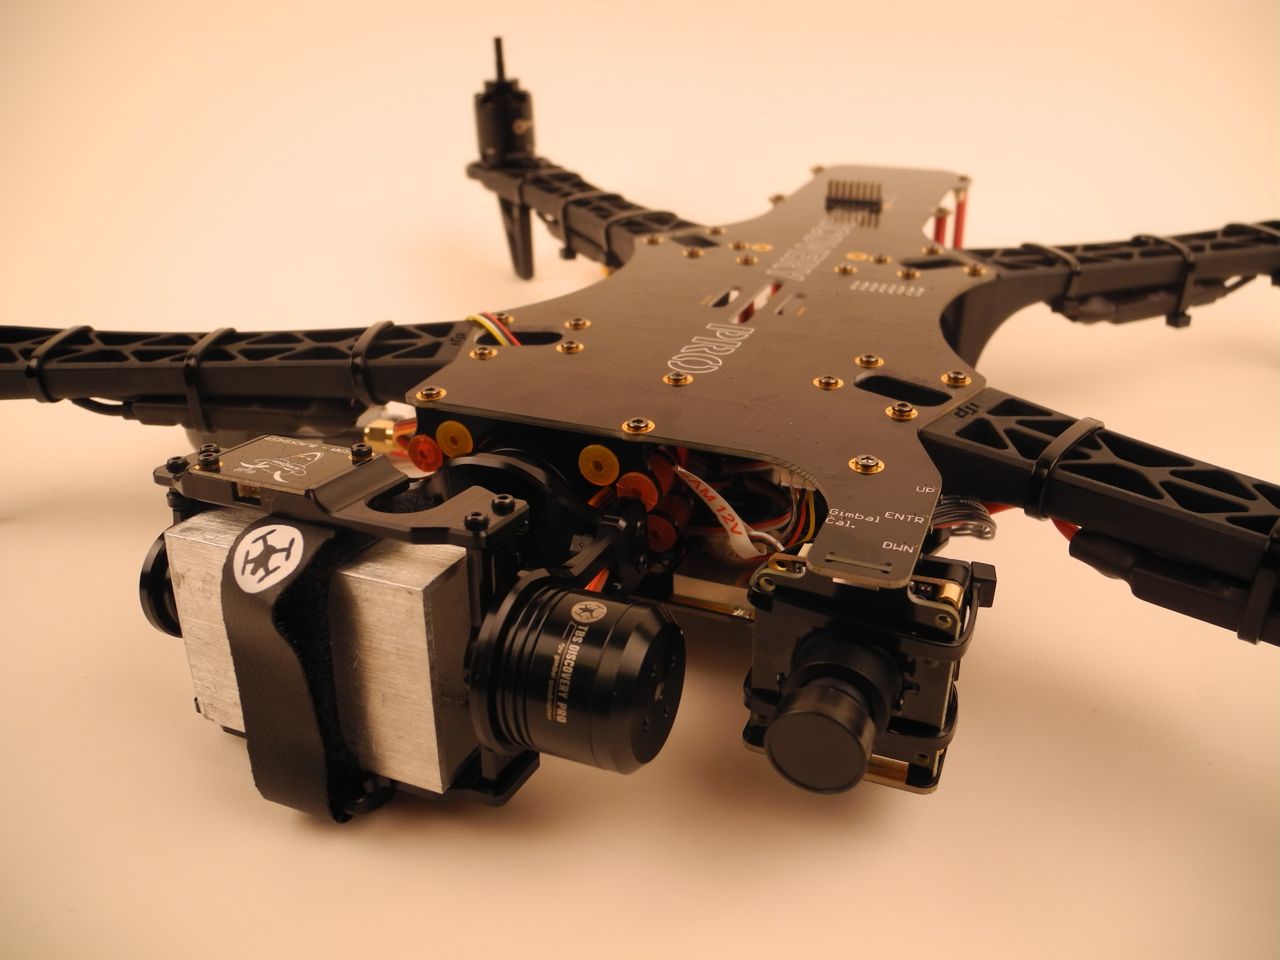
At this point of the build I realized for the first time that something was a bit strange with the gimbal cables. I had to cross them to reach the appropriate connectors on the frame, which seemed a bit like a design flaw. But as it turned out later, I had misassembled the roll axis by 180 degrees, so the pitch motor facing the fpv camera instead of away from it. It took me until after the first power-up to realize this. The crossed cables lead to a second mistake: mixed up roll and pitch motors. The result of this is a hysterically spinning gimbal, rotating constantly as if were fully drunk. After fixing the gimbal orientation and connecting the motors into the correct pitch/roll connector everything was OK. The gimbal was level as expected. Wow, it looked cool!
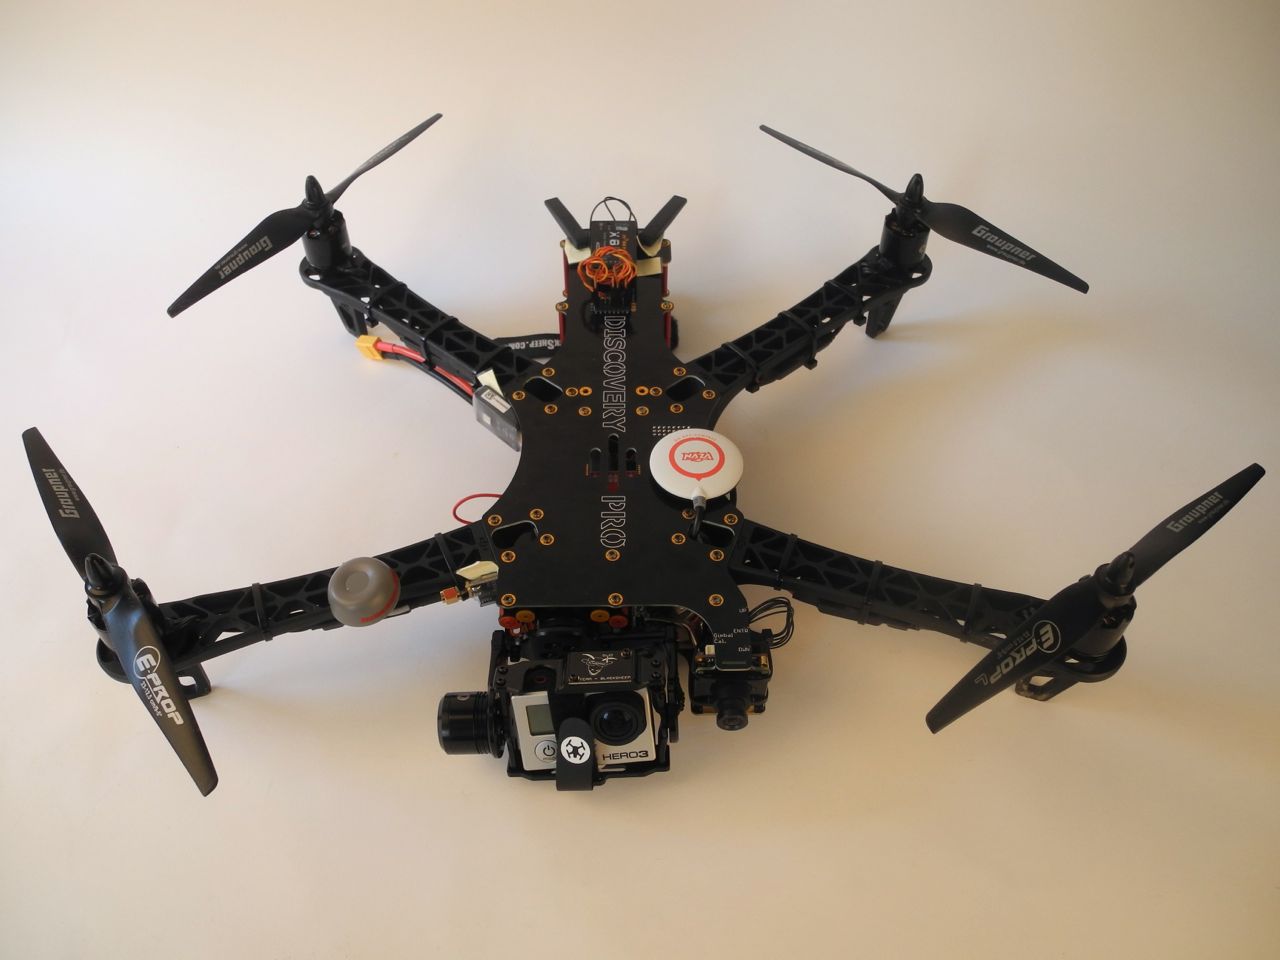
I finished the ‘mechanical’ part of the build by adding more electronics, such as the video transmitter with the 5.8GHz cloverleaf antenna on the front right arm and the FrSky RC receiver X8R in the back on top.
More images in the build gallery. In the next part of the build log I will set up the Taranis RC radio and NAZA flight controller.
4 thoughts on “Build Log TBS Discovery Pro, Part 2”