As we all know, my first TBS Discovery Pro crashed horribly with no hope for easy repair. So what should one do with all The FPV gear and not model to fly? Right. Build a second TBS Discovery Pro. It should not take too long, as I’ve documented my last build in detail (build log part1, part2 and part3). This time however I want to make some minor modifications:
- move the X8R receiver inside the frame next to the NAZA instead of having it sitting on the back outside.
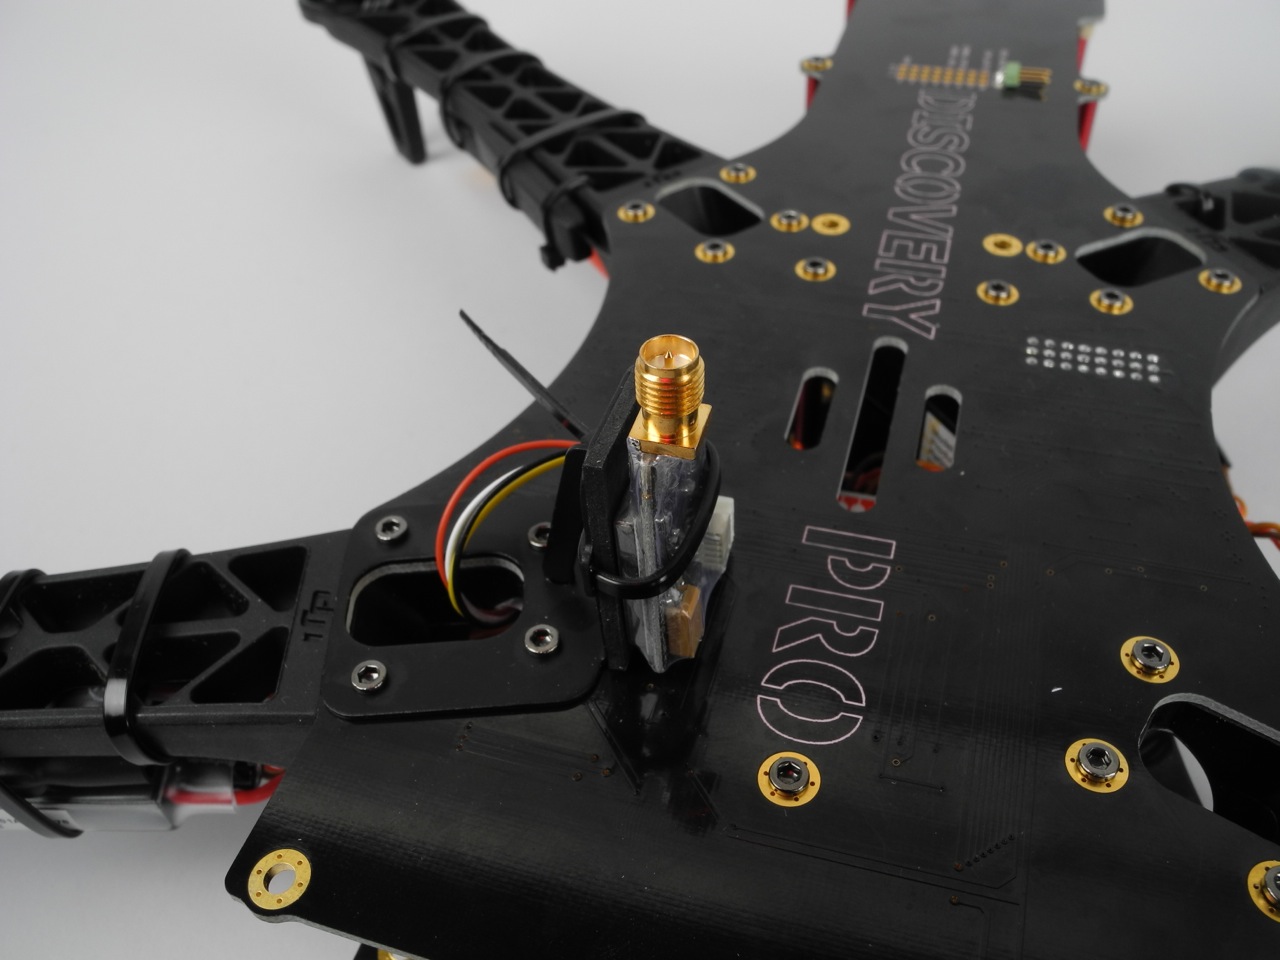
- repositioning of the video antenna to the top of the frame for better reception
- Add RSSI connection for the OSD
- Put the GPS puck on the stick for better reception

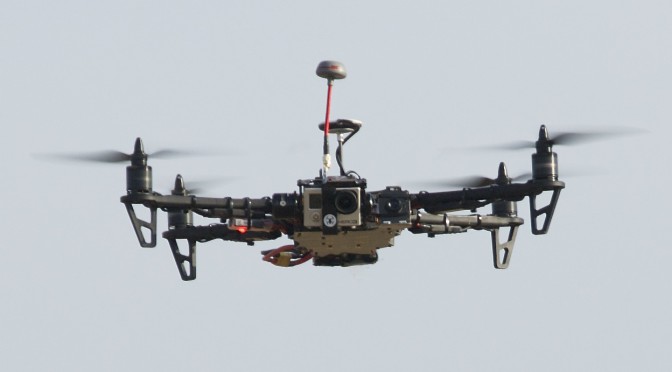
May I present you: TBS Discovery Pro the 2nd. It is a slightly newer version including the improved camera dampening system. Otherwise the components are exactly the same as on the first build. NAZA-M light, 900kv motors, 5.8GHz video and FrSky X8R receiver.
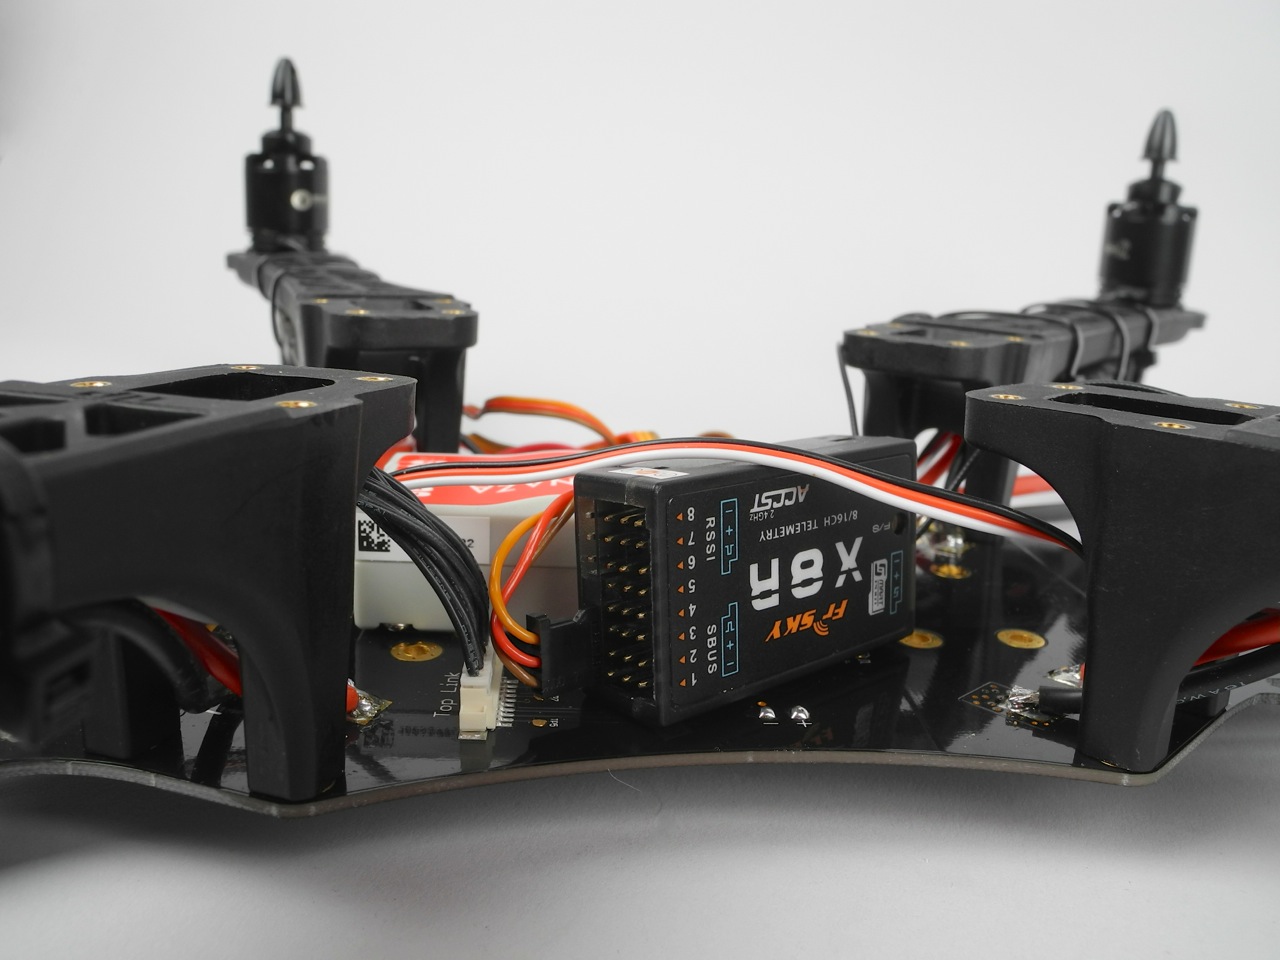
Putting the receiver inside
I’ve updated the build gallery with new pictures. As you can see my top plate is all empty on the back. Instead I crammed the Rx into the frame and zip tied the two antennas to the arms. The space is tight and the cables between the X8R and the antennas are short but it gives a clean and robust build.
The reception of X8R antennas seems to be slightly decreased compared to the old build. I sometimes get a warning, that my RSSI is getting low when the quad is at max distance. I suspect that the new placement of the receiver antennas on the arms, close to the frame, is inferior to the old setup, where they where sticking out on the back. Nothing to worry.
RSSI visualization TBS Core
The RSSI value indicating the signal strength is available as a dedicated 3.3V PWM signal on the X8R. It should theoretically work with the TBS CORE in digital mode. However, I could not get it to work. It seems that the frequency of the PWM is not compatible with the CORE. One should be able to convert the digital PWM signal to an analogue signal with a low pass filter (R C element). But I have not tried this.
Video Tx placement
After some test flights I quite like the outcome. The video link is much more stable in comparison with my first build. The video antenna placement is definitely an improvement. The signal is only blacked out by the quad if I am flying straight above my head.
I hope you like my new build and it gives you some new inspiration about how to set up your own. Please find some more pictures in the gallery.
Math is hard! That captcha uugh .. how did you stomach buying a new pro?. There are so many options these days. I just totaled mine that is how I found your site. Looking for a therapy group for my loss
Oh man that sucks. I know what you are going through. Since then I always add a factor two to copter prices. It helps getting over the loss of the first one. I’m not sure what I would do after a 2nd crash…. Fly save!
connect the x8r via sbus and youll have rssi in the taranis.
It looks like flying electro guitar! This one i like most!)))))))
What’s the take off weight?