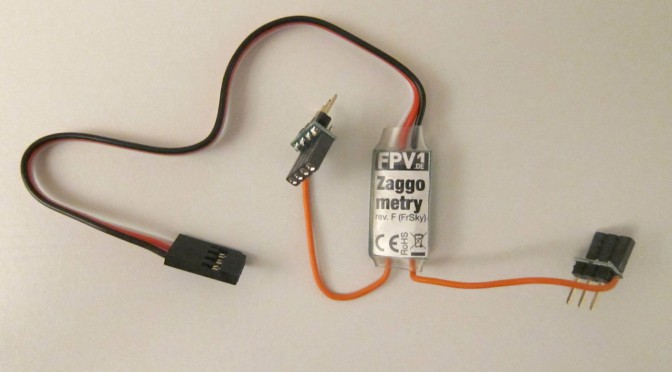
The Zaggometry is a clever little piece of electronics which can read the NAZA GPS coordinates of you copter and send it over the telemetry link down to your Taranis RC-remote for display and logging. In other words, it is a bit like a Flytrex Live flight recorder for your Taranis. The 29€ Zaggomety was developed and is produced(!) by Eberhard Rensch in Germany. In this article I would like to show how I installed it in my TBS Discovery Pro and the data I logged during a test flight (video).
I usually never change a running system but I wanted to play with some new telemetry sensors and all the new LUA scripting features of the openTX 2.0 on my TBS Disco Pro. This is (not yet) an official FrSky firmware. They are stuck at some older, feature restricted 1.x version and they might never offer some of the newer features, as they consider the Taranis a feature complete product. Well, I don’t.
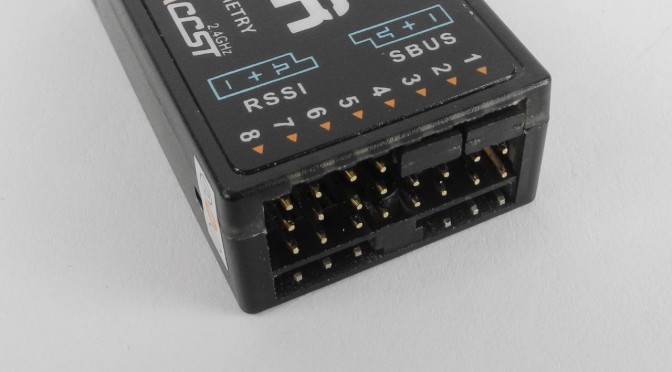
The official instructions for binding the X8R receiver to the Taranis are quite confusing and cryptic. Therefore, I try to give step by step instructions about how to bind them in the different available modes as well as some background information. The whole process is split into a preparation phase, mode selection and a binding procedure.
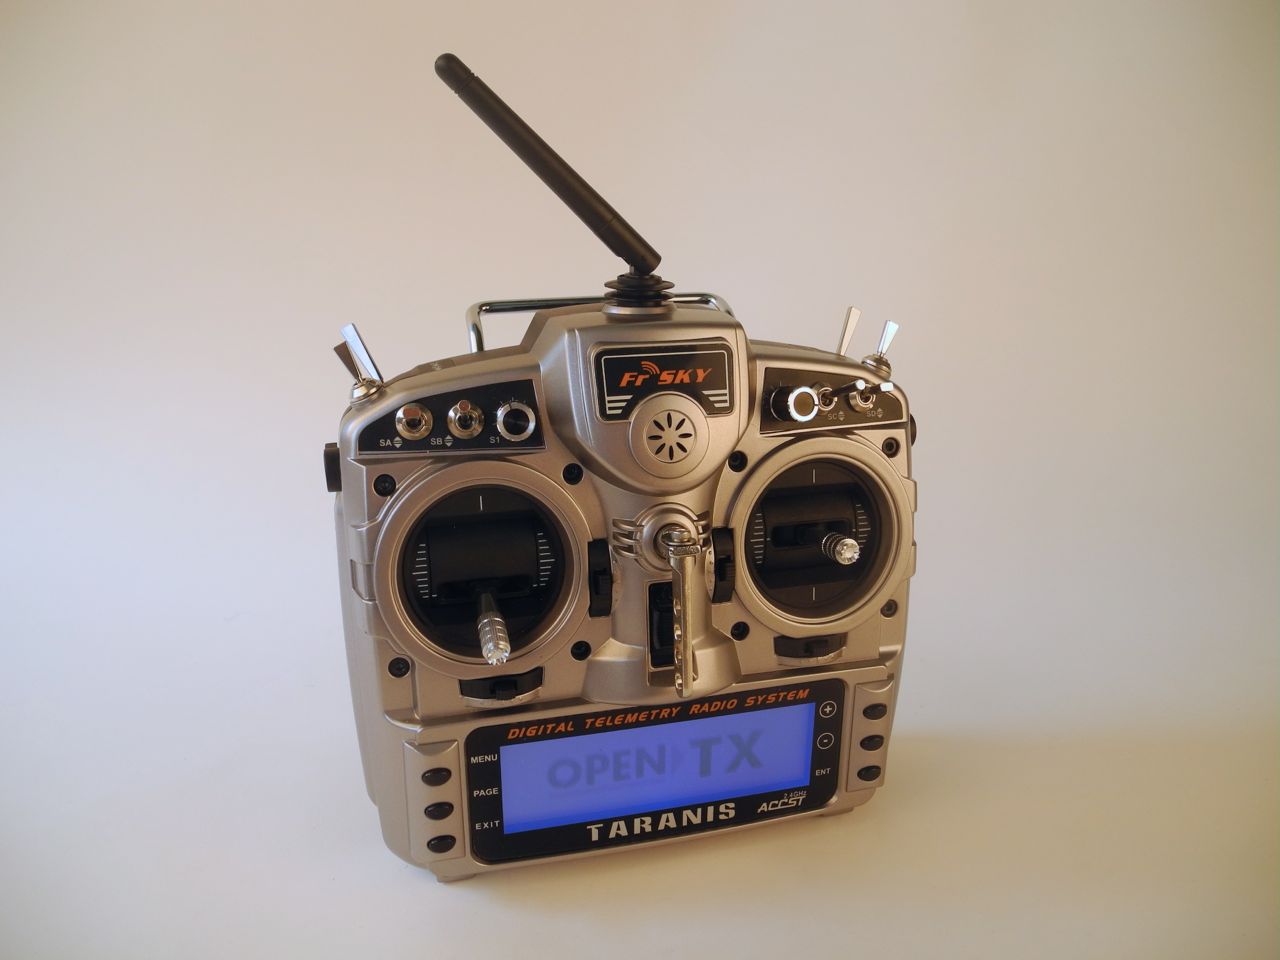
In the third part of the build log I would like to cover the setup and configuration of the Taranis RC with the TBS Discovery Pro. After covering the mechanical build in part 1 and part 2 of the build log, this part will be about the wiring and programming of the remote control. Due to a crash I’ve build the copter a 2nd time.
Today I would like to describe a workflow for natively handling high-frame rate videos with iMovie 11. I use this workflow to create super smooth slow motion scenes from 60fps or 120fps footage recorded with the GoPro. The following method uses iMovie 11 only with original videos straight from the camera. No additional software, plugins or other video pre-processing is needed. The trick is:
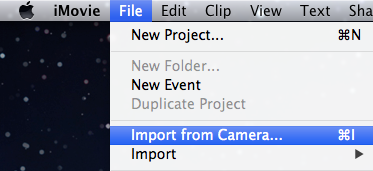
Import the videos straight from the camera or sd-card into iMovie 11 through the “Import from Camera…” dialogue.
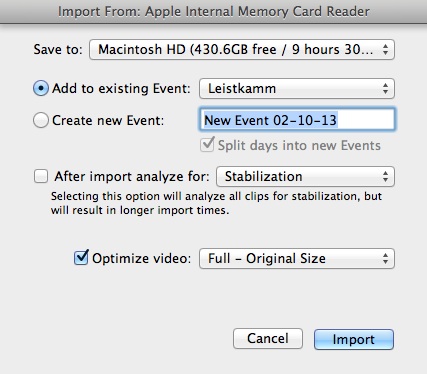
In the next dialogue I then select Optimize video in Full – Original Size. The import takes quite some time, as the videos are transcoded while being imported. Once finished, the videos can be added to projects (such as 30fps NTSC). Without any additional transcoding the “Slow Motion” settings of the clip use the higher frame rate to make super smooth videos. Example slowdowns are 50% with a 60fps clip or even 25% on a 120fps clip.
iMovies’ Import from Camera dialogue preserves the high frame rate (60 / 120fps) from the GoPro without additional transcoding.
Important: Any other import method will not work properly. The higher frame-rate will be lost if you add the exact same file through the general “Import” function or through the iPhoto library. This must be a bug or accidental feature of iMovie, depending on how you look at it. Have fun!