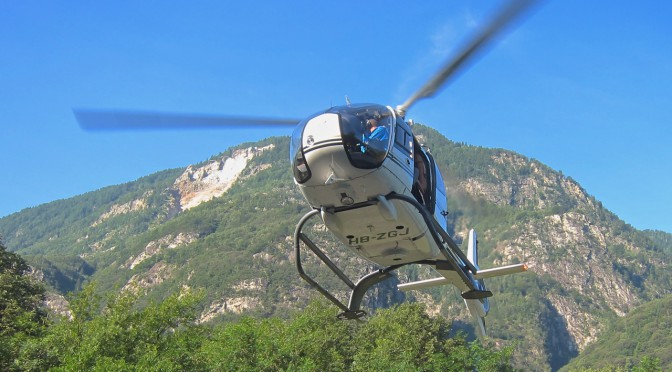
This summer I had the pleasure to accompany a film crew with my TBS discovery Pro to record aerial shots for the PBS science show NOVA. We were filming at the rupture zone of a landslide site near Preonzo in the south of Switzerland. The terrain is quite spectacular with all the cliffs and cracks as only about half of the unstable ground came down during the last incident in 2012. The ground we were walking and flying over is in fact the dirt and debris of a future landslide. Scary!
Tag Archives: TBS Discovery Pro
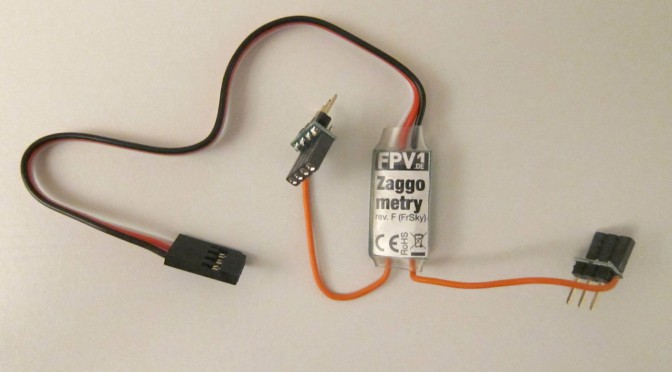
Zaggometry: How to log your flights with the Taranis
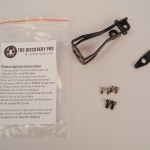
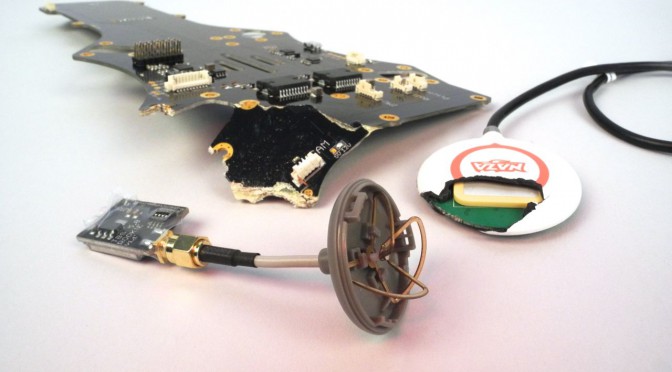
The Zaggometry is a clever little piece of electronics which can read the NAZA GPS coordinates of you copter and send it over the telemetry link down to your Taranis RC-remote for display and logging. In other words, it is a bit like a Flytrex Live flight recorder for your Taranis. The 29€ Zaggomety was developed and is produced(!) by Eberhard Rensch in Germany. In this article I would like to show how I installed it in my TBS Discovery Pro and the data I logged during a test flight (video).
Continue reading Zaggometry: How to log your flights with the Taranis

Lady in Lavender
The beautiful intense color of the lavender dominates the landscape of the entire Provence. The magic happens every year in early summer for a couple of weeks and it attracts many painters, photographers and mysterious ladies. Have a look yourself!
The filming took place during a photography workshop with Christian Heeb.
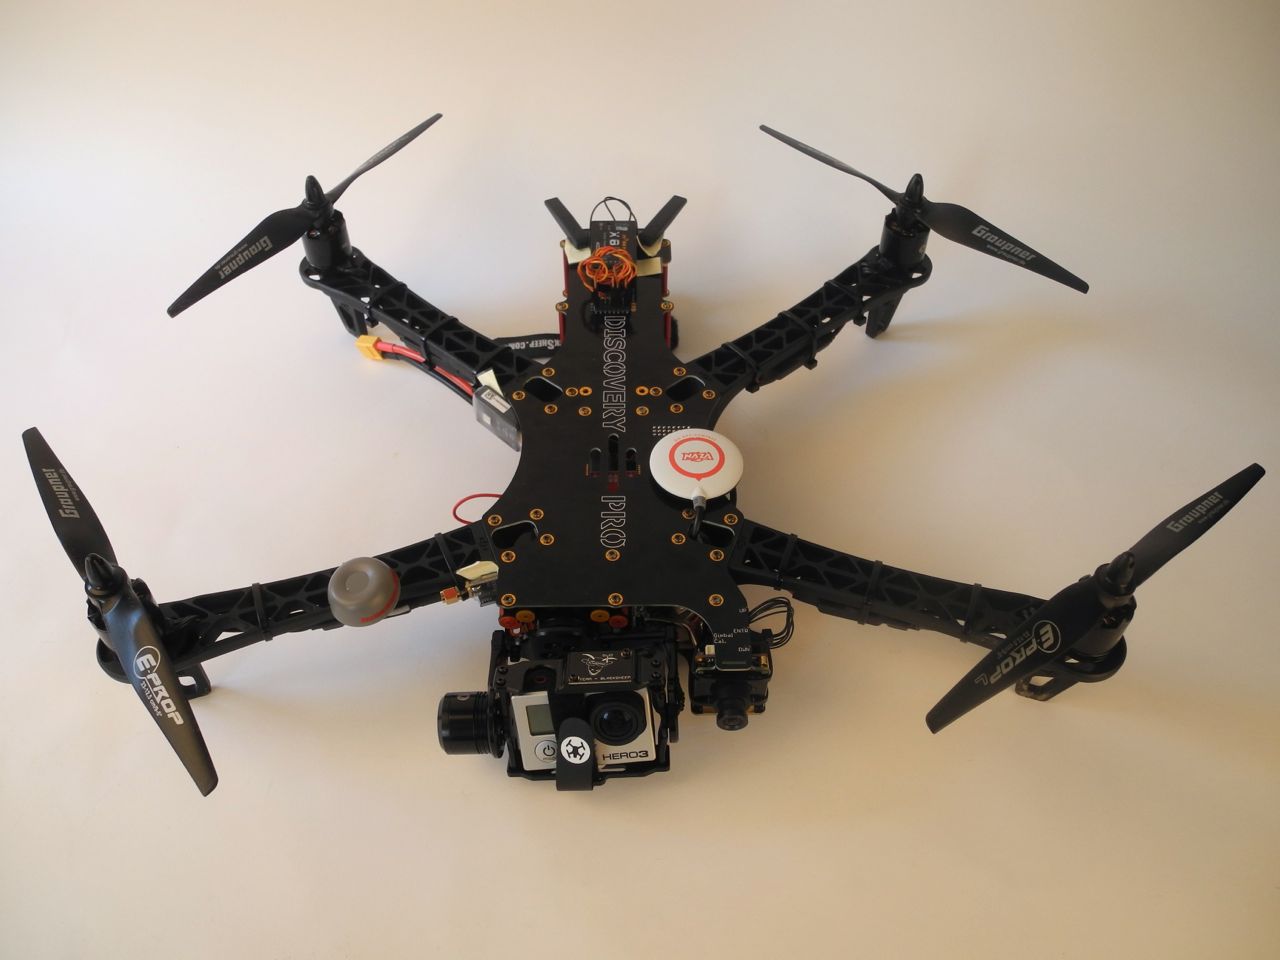
I did it again! 2nd Discovery Pro build
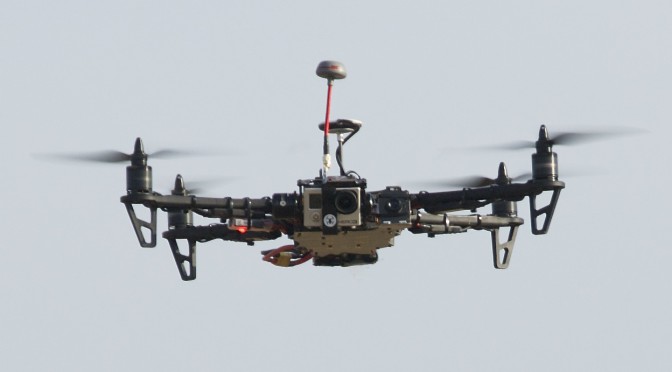
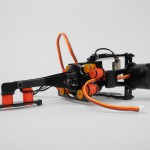
As we all know, my first TBS Discovery Pro crashed horribly with no hope for easy repair. So what should one do with all The FPV gear and not model to fly? Right. Build a second TBS Discovery Pro. It should not take too long, as I’ve documented my last build in detail (build log part1, part2 and part3). This time however I want to make some minor modifications:
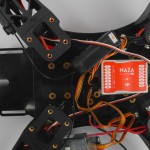
- move the X8R receiver inside the frame next to the NAZA instead of having it sitting on the back outside.
- repositioning of the video antenna to the top of the frame for better reception
- Add RSSI connection for the OSD
- Put the GPS puck on the stick for better reception
Gallery: 2nd TBS Discovery Pro build
The image gallery of the first build can be found here.
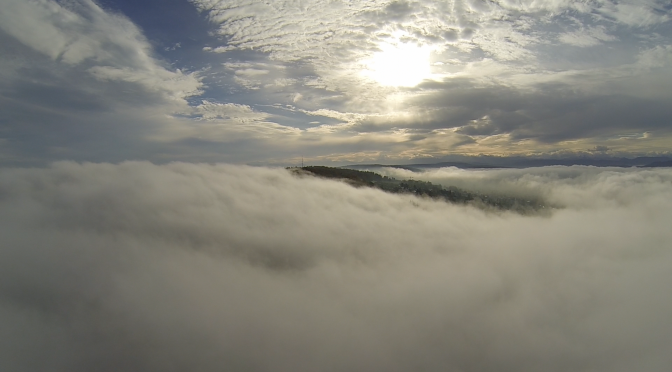
TBS Discovery Pro Showreel
The video shows a compilation of shots taken in and around Zurich in Switzerland. I was flying above the clouds searching for the sun, blowing autumn leaves in the forest and flying over water and chasing cars. The Discovery Pro is a beast and a lot of fun. Want to build your own? Check out my build log: part1, part2 and part3!

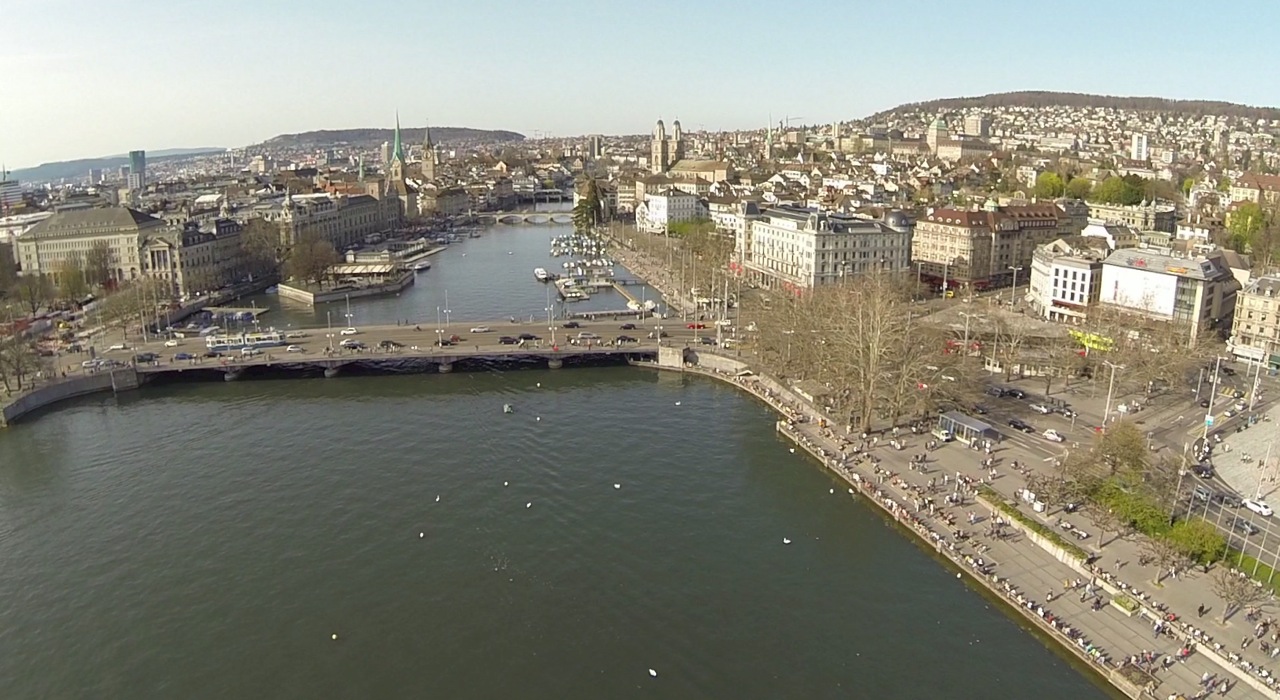
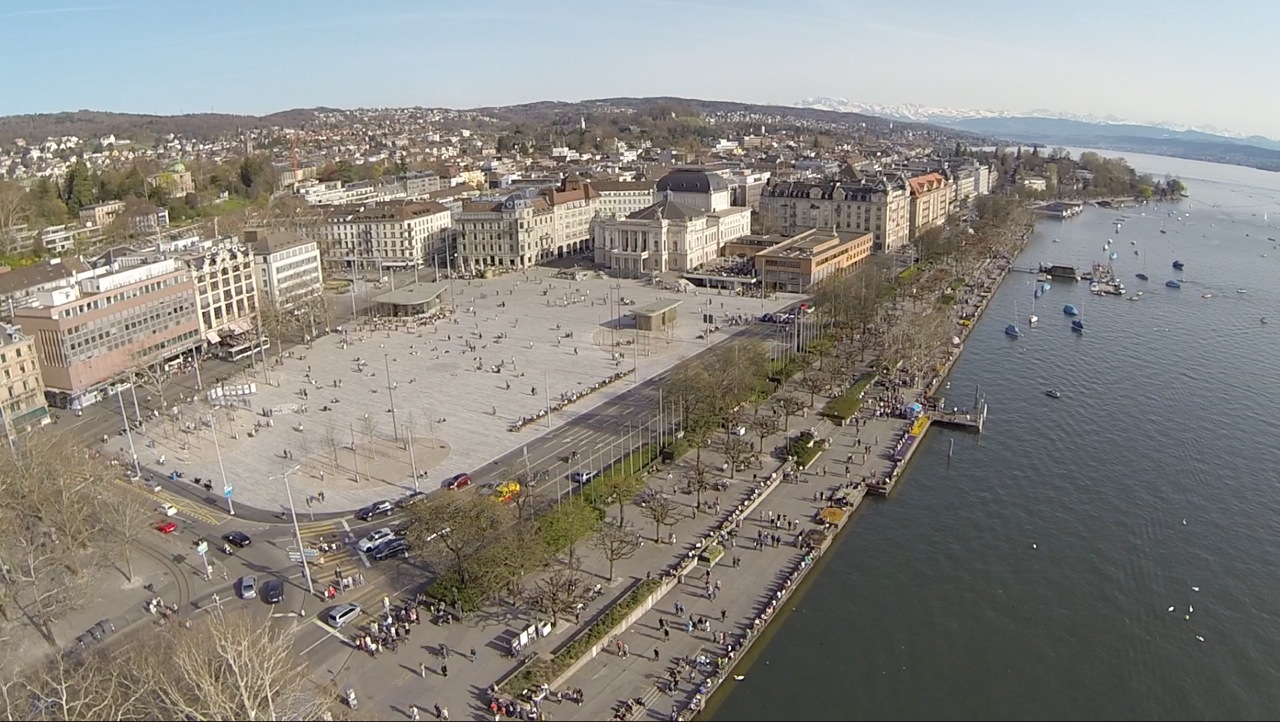
Spring in Zurich
Today was a beautiful warm spring day and I decided to do what all the people from Zurich are doing, going down to the lake. While the promenade was severely crowded, I had the sky all for myself 😉
[twoclick_buttons]
Nomen est omen: Crashpilot
Well, well, we all knew it had to happen. One of my copters crashed. It fell out of the sky, more then 30m onto asphalt. It looked really horrible. The Disco scattered into peaces, it had a totally broken frame with many damaged parts lying around. I could salvage a few pieces from the debris, but I will need to rebuild a new copter from scratch.
Luckily nobody got injured and nothing on the ground got damaged. So the worst thing is, that I don’t fully know why it happened. It could have been the almost empty battery, but I could also have been the camera controller board flying into the propellor. I guess I need to do more tests once I have rebuilt my Discovery. I just hoped I would not have to build a second Discovery Pro so soon again 🙁

Build Log: Taranis and TBS Discovery Pro, Part 3
In the third part of the build log I would like to cover the setup and configuration of the Taranis RC with the TBS Discovery Pro. After covering the mechanical build in part 1 and part 2 of the build log, this part will be about the wiring and programming of the remote control. Due to a crash I’ve build the copter a 2nd time.
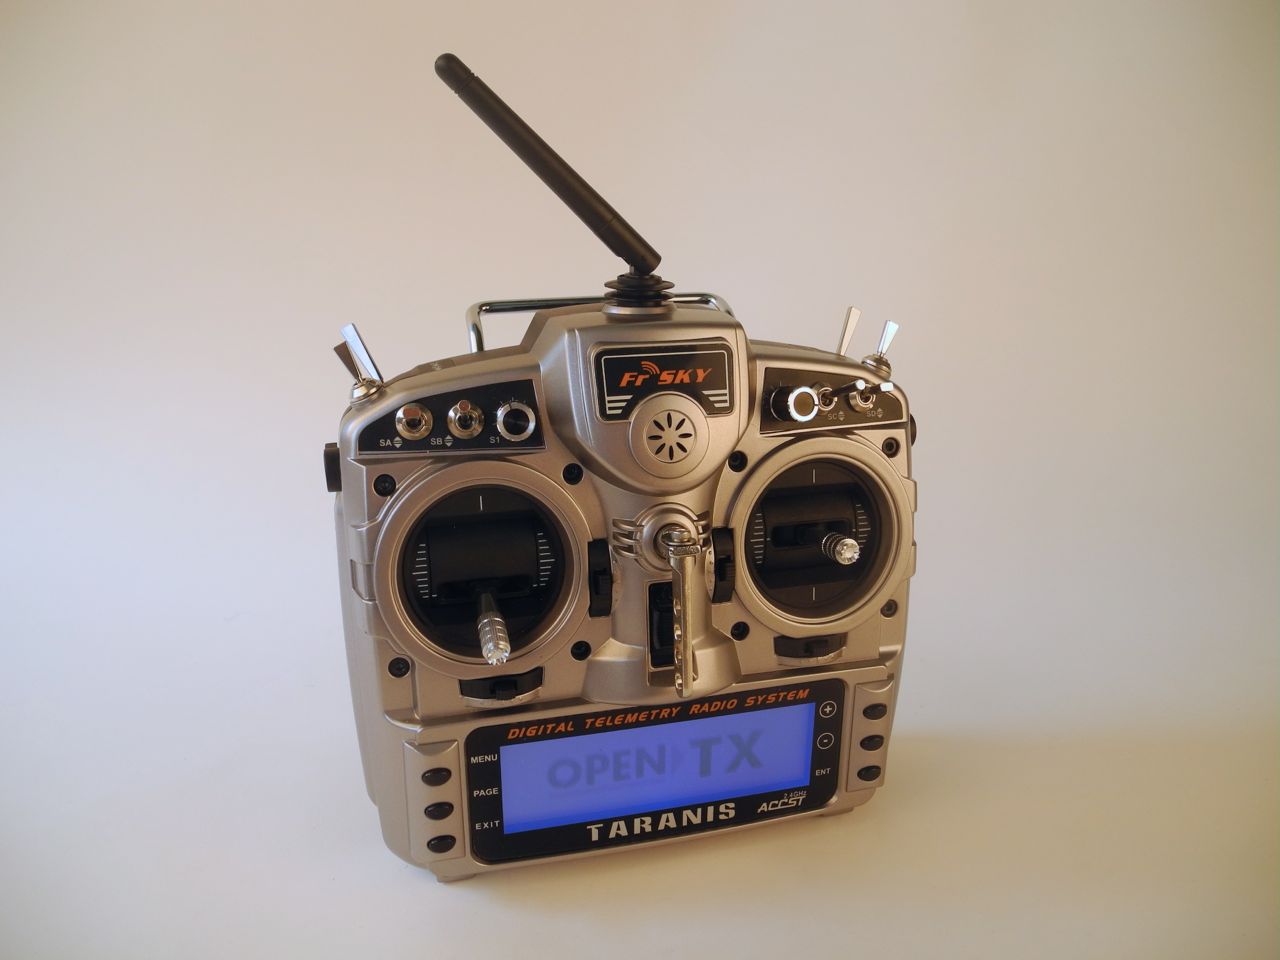
Detailed setup guide and model files to download after the break. Continue reading Build Log: Taranis and TBS Discovery Pro, Part 3
Build Log TBS Discovery Pro, Part 2
This is part 2 of the epic TBS Discovery Pro build. It got a bit delayed because I really wanted to show you the Leistkamm Video before finishing my second quadcopter. But now, back to the Discovery Pro.
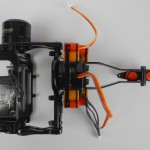
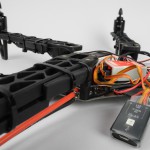
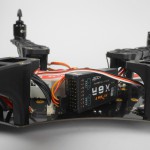
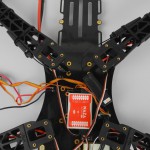
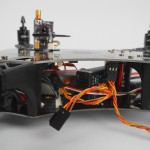
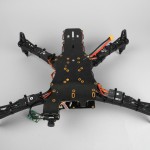
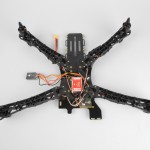
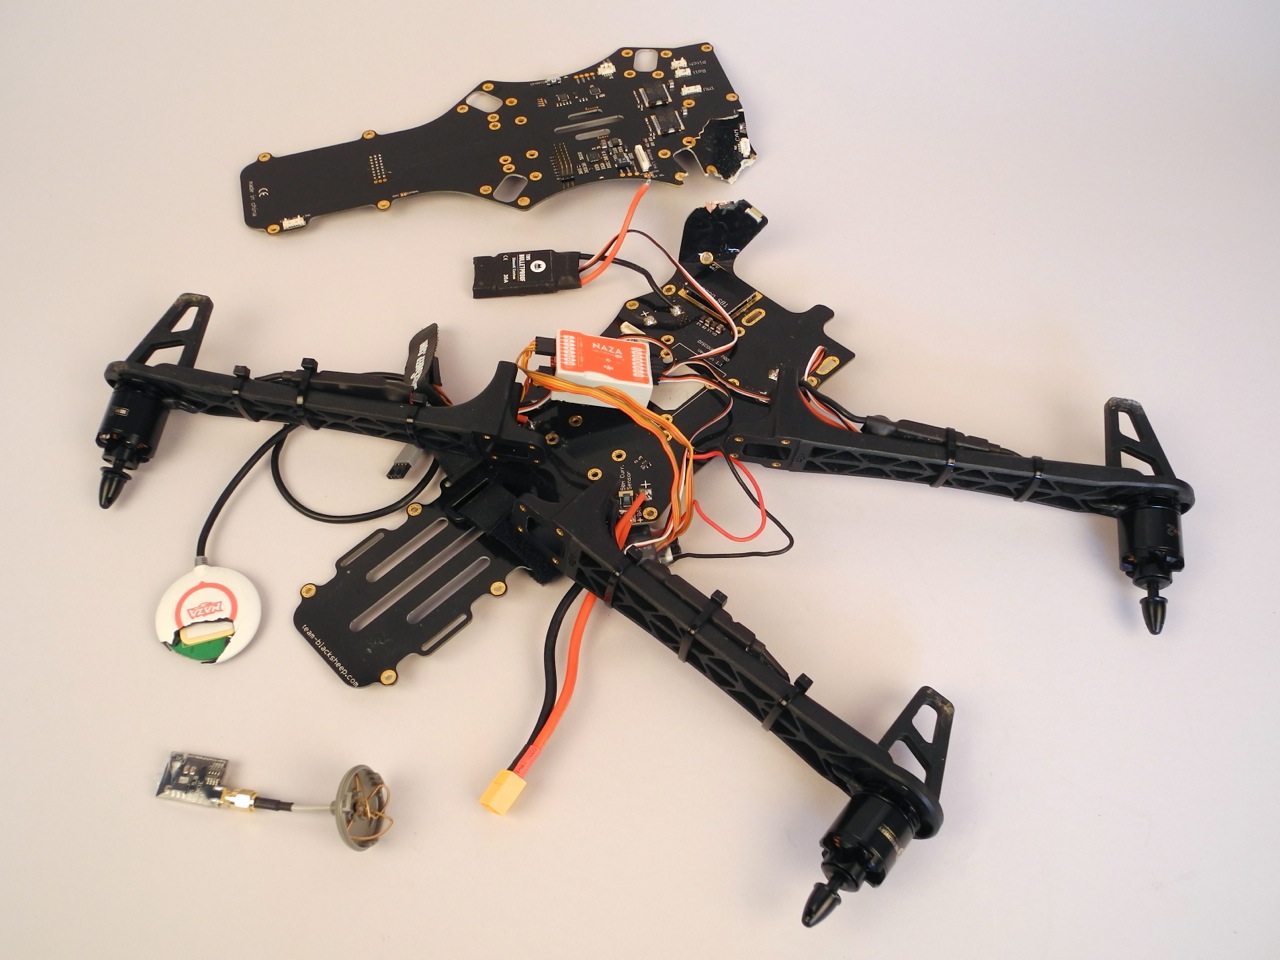
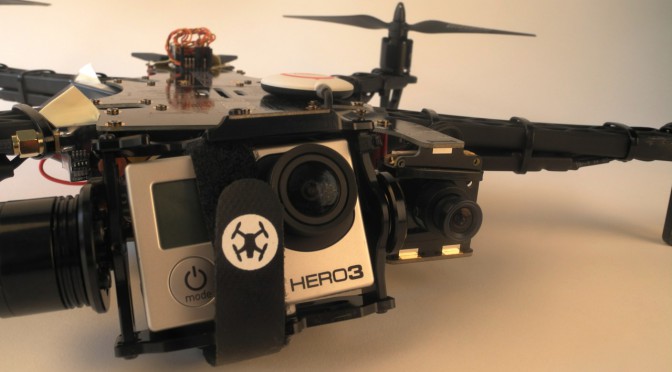
After assembling the gimbal and motors and soldering the bottom plate in the TBS Discovery Pro build part 1, I put all the pieces together. It’s relatively straight forward to mount the four arms and red spacers to the bottom plate and then close up the sandwich with the top pcb plate. All the electronics and wiring is integrated into the frame and aside from the gimbal and controller, there are only a few cables connecting to individual parts. During the build I got to appreciate zip-ties for fixing all sorts of things, such as the electronic speed controllers (ESCs) onto the arms and the flight camera to the frame. The last piece I screwed on was the gimbal and it slides from the front.
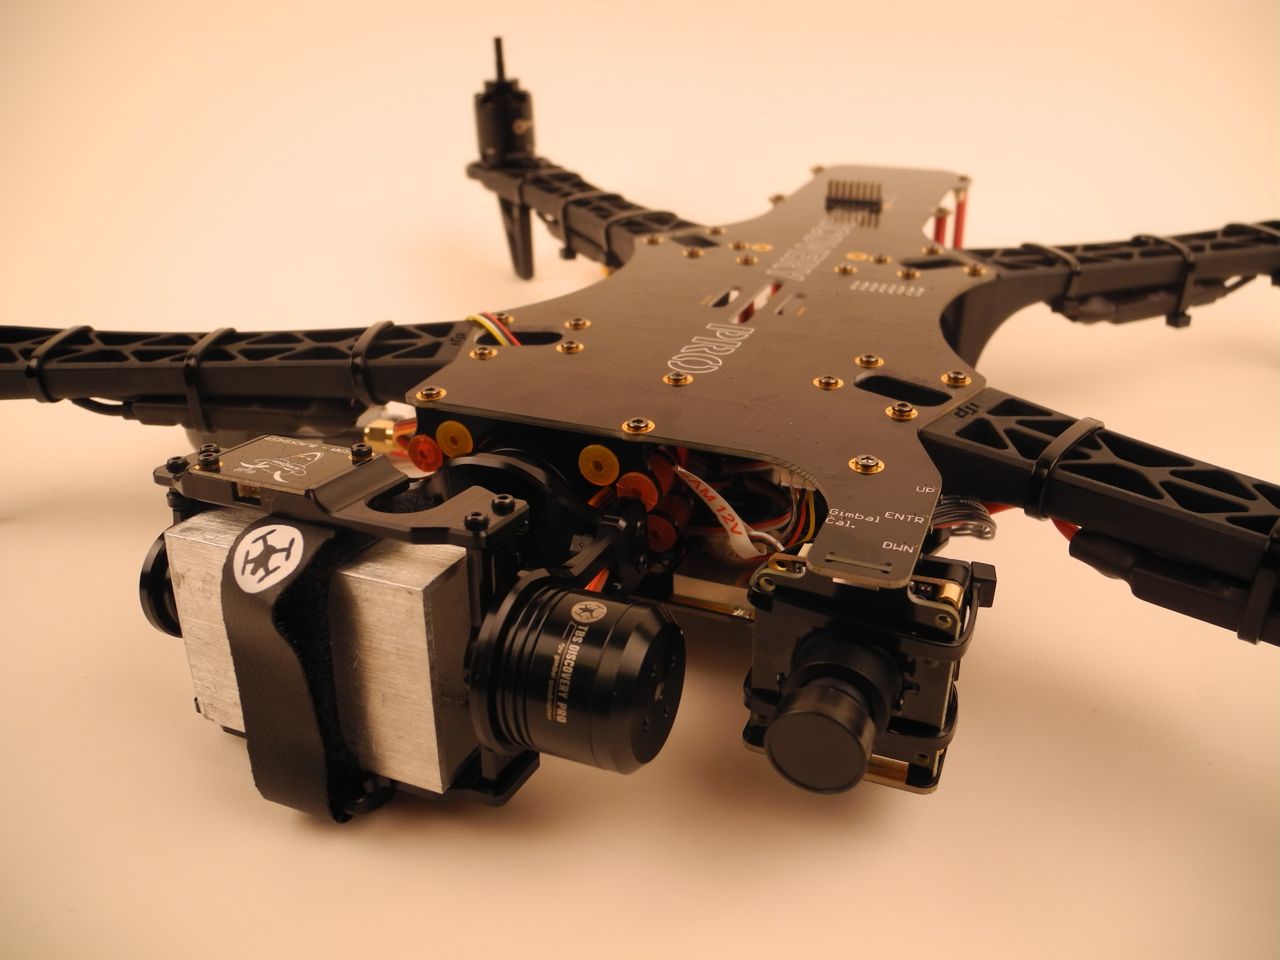
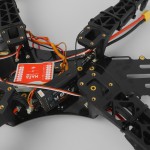
At this point of the build I realized for the first time that something was a bit strange with the gimbal cables. I had to cross them to reach the appropriate connectors on the frame, which seemed a bit like a design flaw. But as it turned out later, I had misassembled the roll axis by 180 degrees, so the pitch motor facing the fpv camera instead of away from it. It took me until after the first power-up to realize this. The crossed cables lead to a second mistake: mixed up roll and pitch motors. The result of this is a hysterically spinning gimbal, rotating constantly as if were fully drunk. After fixing the gimbal orientation and connecting the motors into the correct pitch/roll connector everything was OK. The gimbal was level as expected. Wow, it looked cool!
I finished the ‘mechanical’ part of the build by adding more electronics, such as the video transmitter with the 5.8GHz cloverleaf antenna on the front right arm and the FrSky RC receiver X8R in the back on top.
More images in the build gallery. In the next part of the build log I will set up the Taranis RC radio and NAZA flight controller.