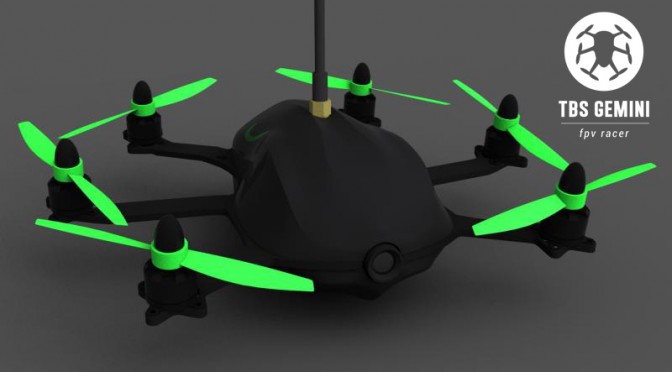
In August Team Black Sheep announced a new FPV racer on FPVlab.com, the TBS Gemini, a small hexacopter made for racing. It supposedly has a top speed of up to 100 km/h (~60 mph), is less than 400g light (~1 lb and a bit) and comes fully packed with all the FPV gear. Finally, the wait should be over soon. TBS just announced that the first batch started shipping. YESS! My order is also lined up and hopefully I can play with the little flying crab very soon.
Tag Archives: Team BlackSheep
Gallery: 2nd TBS Discovery Pro build
The image gallery of the first build can be found here.
Nomen est omen: Crashpilot
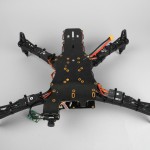
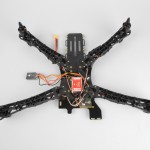
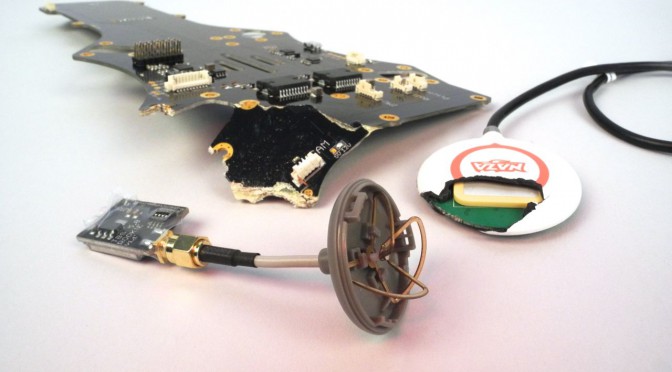
Well, well, we all knew it had to happen. One of my copters crashed. It fell out of the sky, more then 30m onto asphalt. It looked really horrible. The Disco scattered into peaces, it had a totally broken frame with many damaged parts lying around. I could salvage a few pieces from the debris, but I will need to rebuild a new copter from scratch.
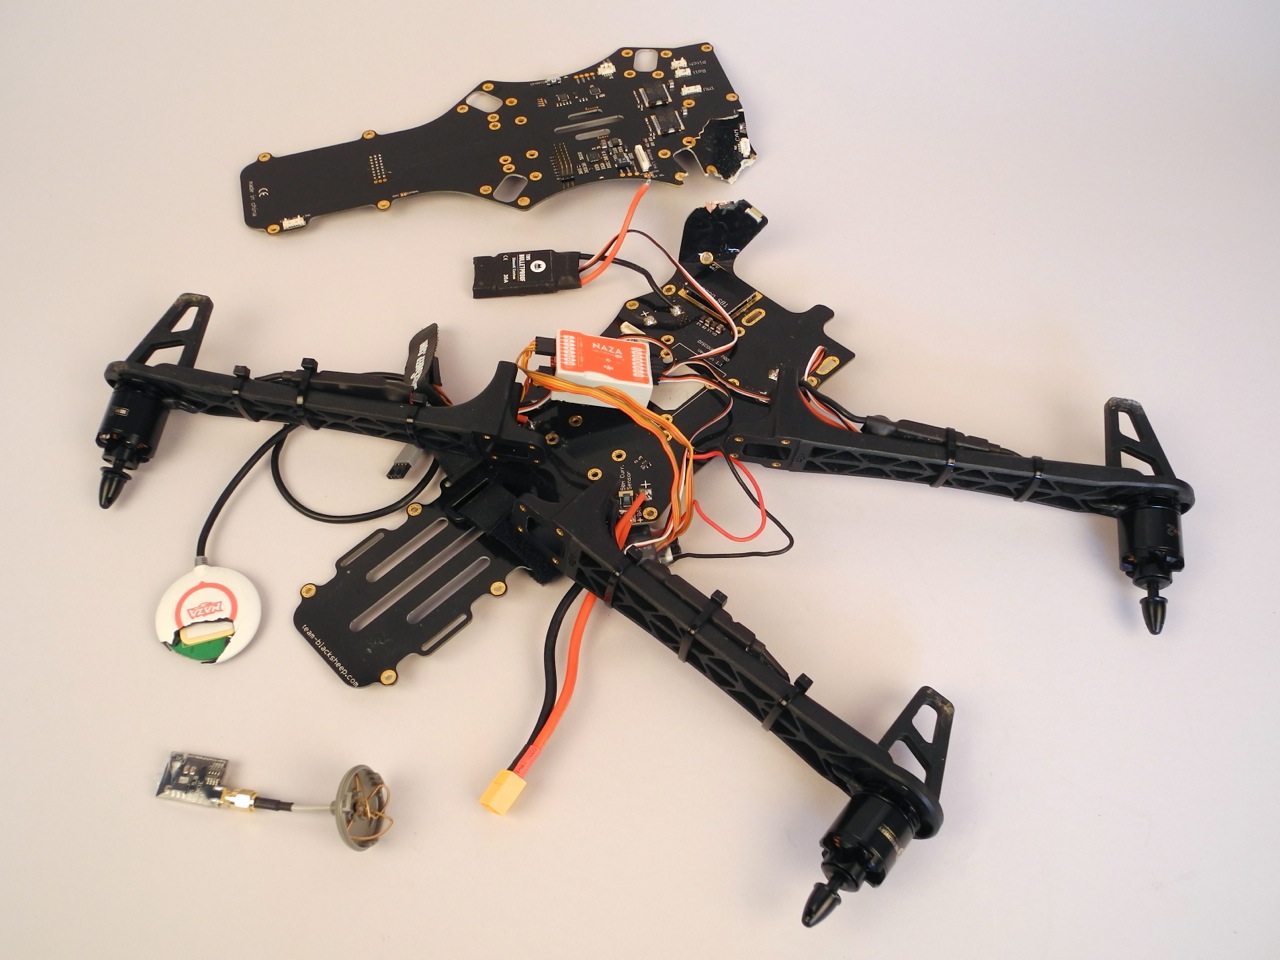
Luckily nobody got injured and nothing on the ground got damaged. So the worst thing is, that I don’t fully know why it happened. It could have been the almost empty battery, but I could also have been the camera controller board flying into the propellor. I guess I need to do more tests once I have rebuilt my Discovery. I just hoped I would not have to build a second Discovery Pro so soon again 🙁

Build Log: Taranis and TBS Discovery Pro, Part 3
In the third part of the build log I would like to cover the setup and configuration of the Taranis RC with the TBS Discovery Pro. After covering the mechanical build in part 1 and part 2 of the build log, this part will be about the wiring and programming of the remote control. Due to a crash I’ve build the copter a 2nd time.
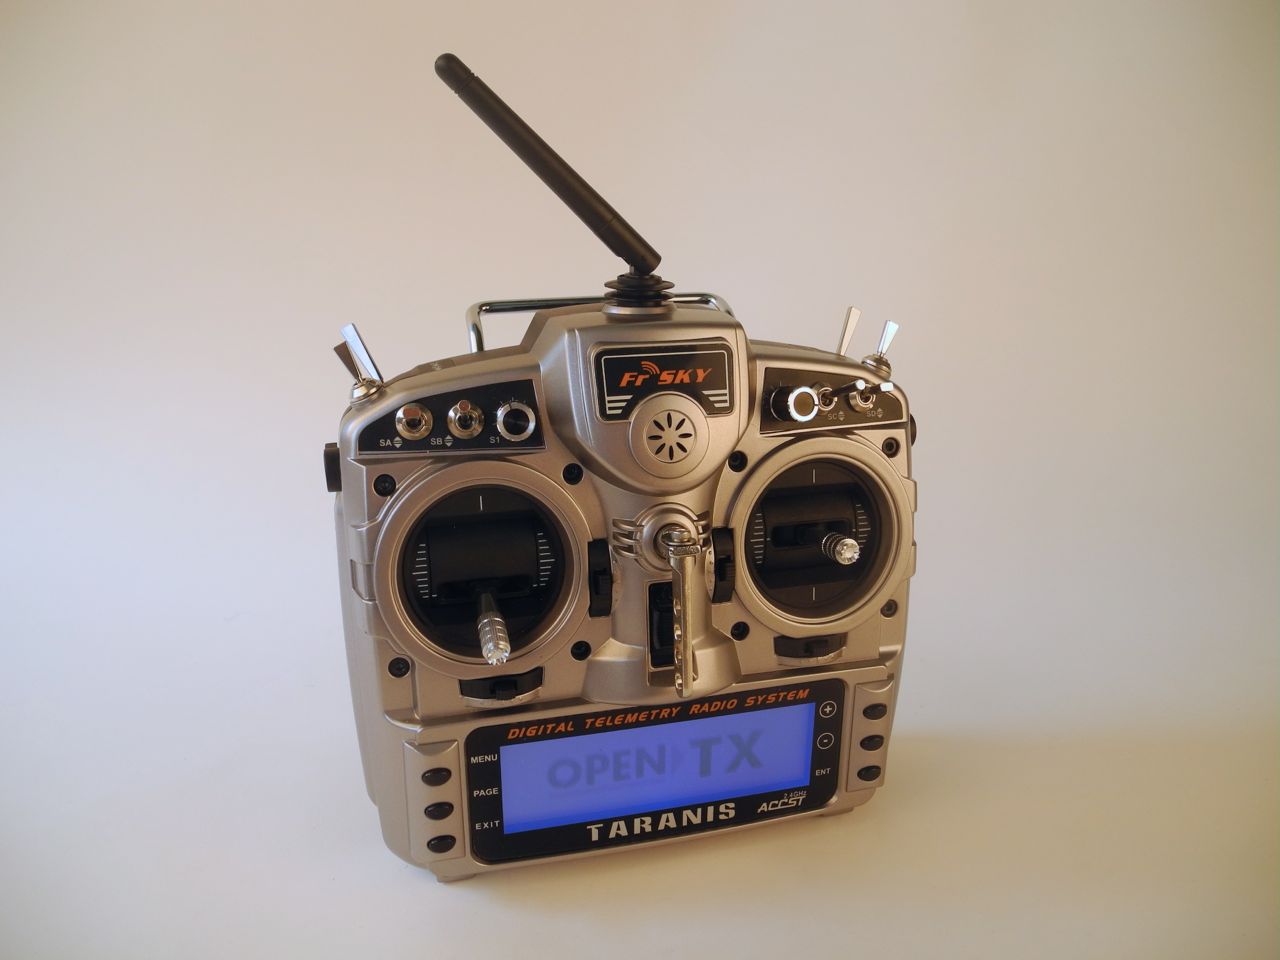
Detailed setup guide and model files to download after the break. Continue reading Build Log: Taranis and TBS Discovery Pro, Part 3
Build Log TBS Discovery Pro, Part 2
This is part 2 of the epic TBS Discovery Pro build. It got a bit delayed because I really wanted to show you the Leistkamm Video before finishing my second quadcopter. But now, back to the Discovery Pro.
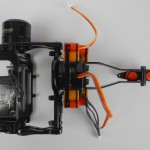
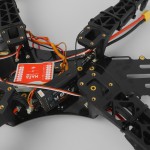
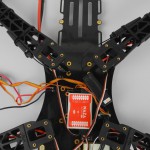
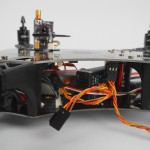
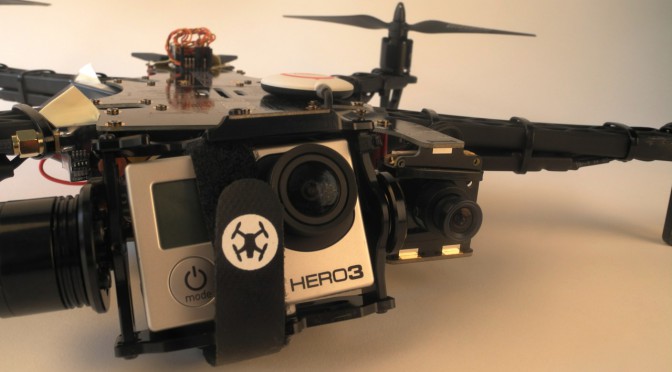
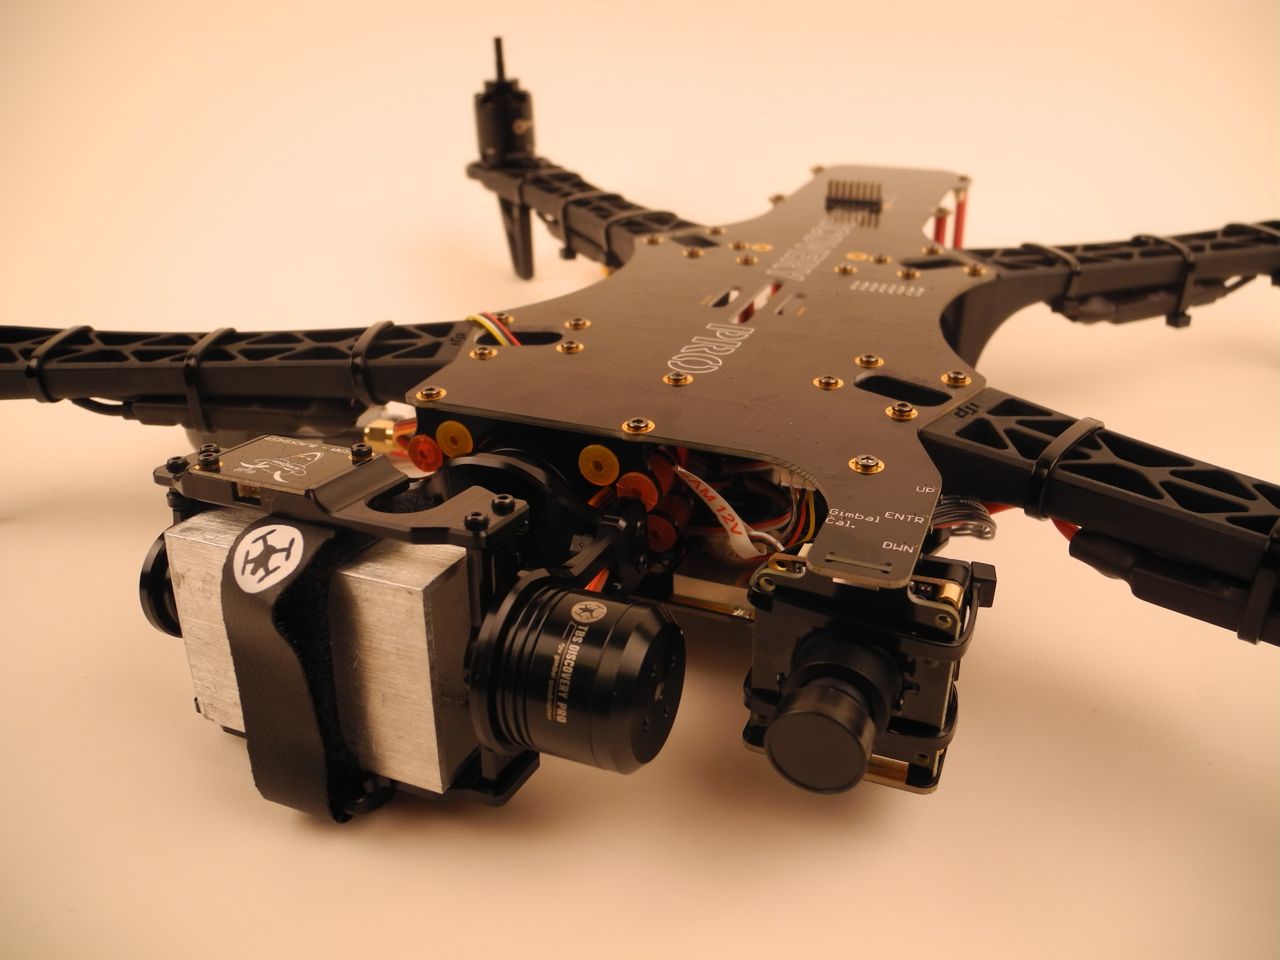
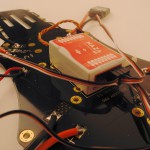
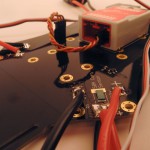
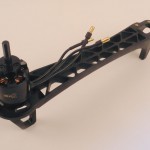
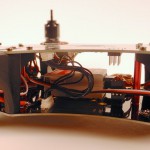
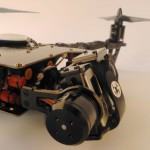
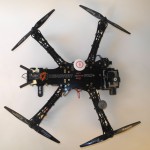
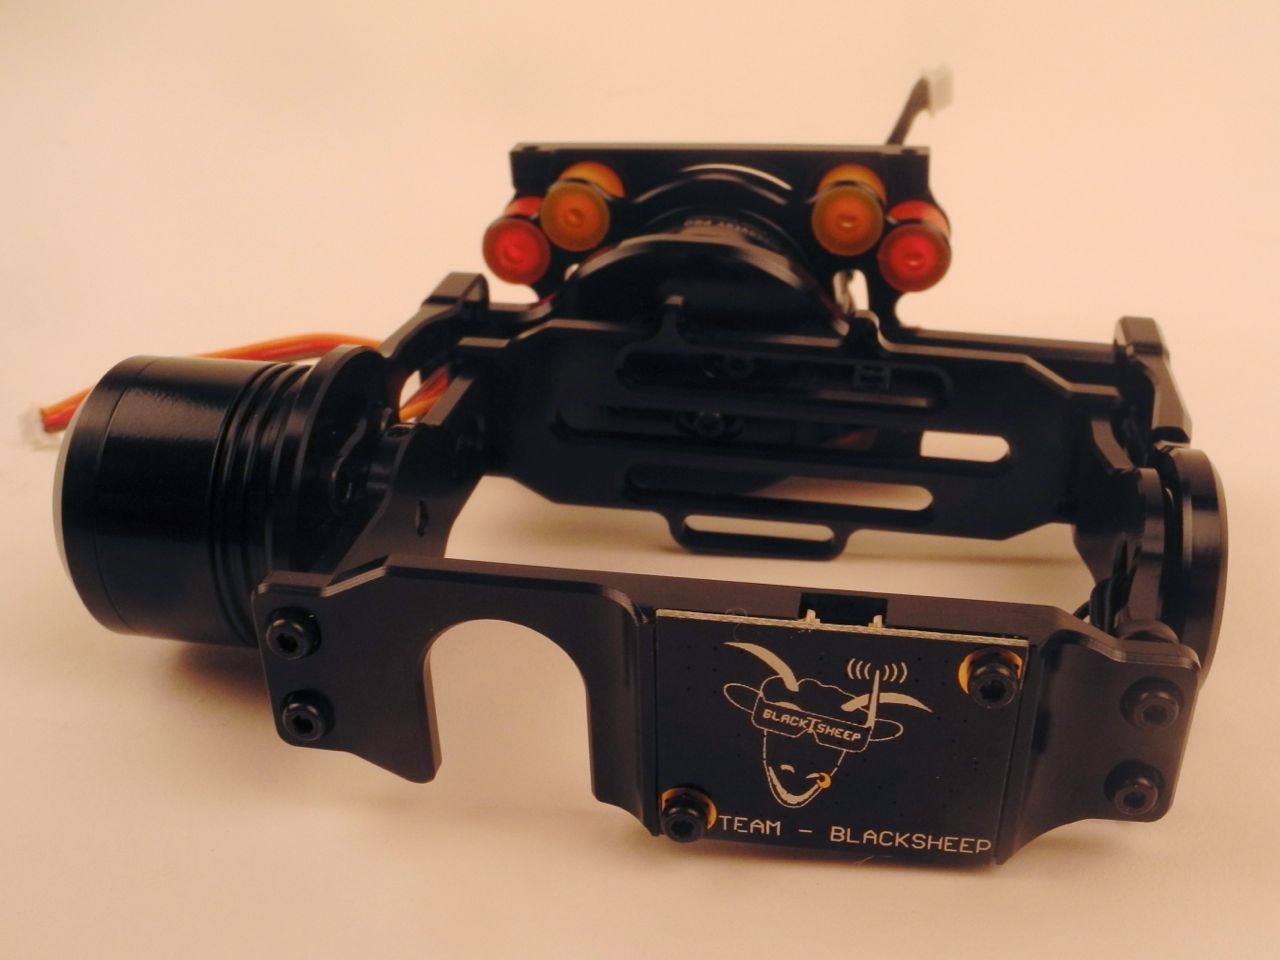
After assembling the gimbal and motors and soldering the bottom plate in the TBS Discovery Pro build part 1, I put all the pieces together. It’s relatively straight forward to mount the four arms and red spacers to the bottom plate and then close up the sandwich with the top pcb plate. All the electronics and wiring is integrated into the frame and aside from the gimbal and controller, there are only a few cables connecting to individual parts. During the build I got to appreciate zip-ties for fixing all sorts of things, such as the electronic speed controllers (ESCs) onto the arms and the flight camera to the frame. The last piece I screwed on was the gimbal and it slides from the front.
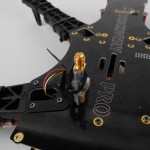
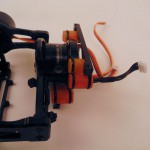
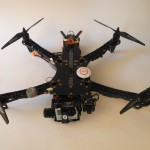
At this point of the build I realized for the first time that something was a bit strange with the gimbal cables. I had to cross them to reach the appropriate connectors on the frame, which seemed a bit like a design flaw. But as it turned out later, I had misassembled the roll axis by 180 degrees, so the pitch motor facing the fpv camera instead of away from it. It took me until after the first power-up to realize this. The crossed cables lead to a second mistake: mixed up roll and pitch motors. The result of this is a hysterically spinning gimbal, rotating constantly as if were fully drunk. After fixing the gimbal orientation and connecting the motors into the correct pitch/roll connector everything was OK. The gimbal was level as expected. Wow, it looked cool!
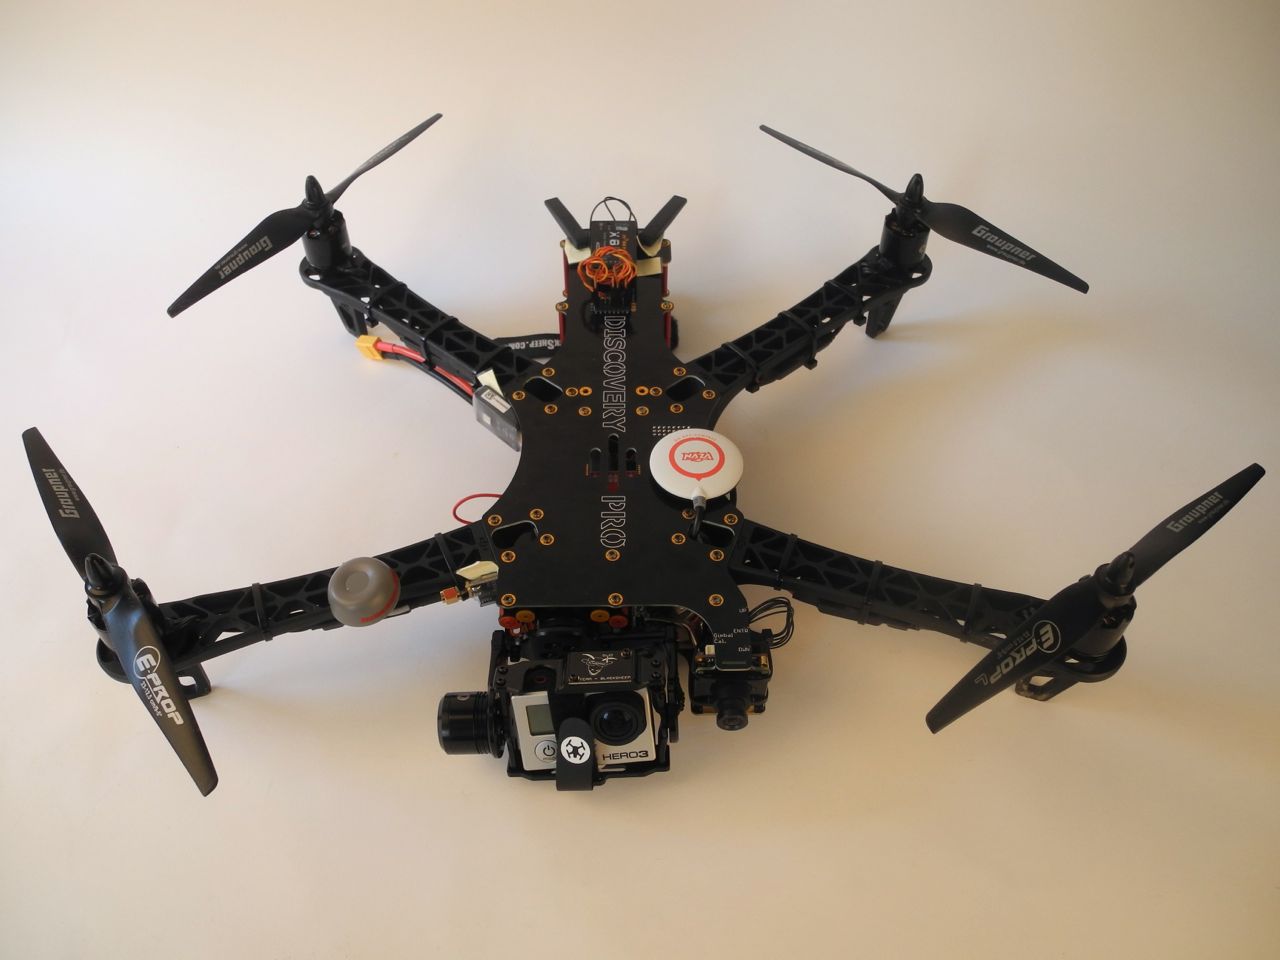
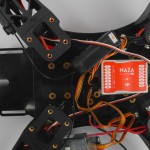
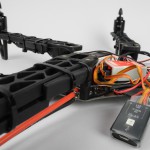
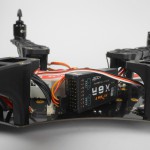
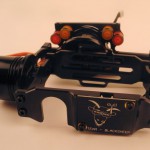
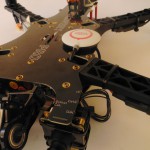
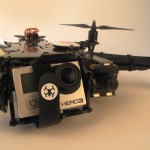
I finished the ‘mechanical’ part of the build by adding more electronics, such as the video transmitter with the 5.8GHz cloverleaf antenna on the front right arm and the FrSky RC receiver X8R in the back on top.
More images in the build gallery. In the next part of the build log I will set up the Taranis RC radio and NAZA flight controller.
Gallery: 1st TBS Discovery Pro build.


Build Log TBS Discovery Pro, Part 1
Let’s start! After Unboxing I gathered all the necessary resources such as:
- The build Instructions (pdf) with the accompanying build video from TBS
- Soldering iron, screwdrivers, zip ties, loctite 222 (the purple one)
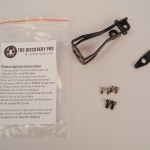
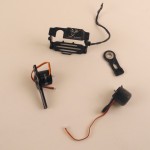
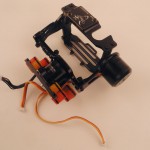
I’ve started with the gimbal assembly, a big puzzle with motors, screws and aluminum parts. The small screws are for the metal parts and some of the short bigger ones (from a separate bag) are for the gimbal motors. The small electronic board was a little bit too big, but after grinding the board on two ends by fractions of a millimeter it fit snugly into the holder. Two tiny little grub screws are used to hold the tilt motor. One is not enough as I had to find out. The cables are attached with zip ties, which have to be attached exactly how the video shows. Otherwise the ends of the zip-ties collided with other parts, preventing the gimbal from turning freely. For the time being I chose the standard red and orange damper configuration. However, this might change as the dampers need to be fine tuned. There are reports of vibrations with the standard setup. All orange seems to be a good option too. I will have to test this out. [Update] The roll axis on my build is 180 degrees wrong and should be flipped around. While the GoPro cage is upright, the dampers are upside down. They should be forward on top and backward on the bottom for a push/pull configuration. [/Update]
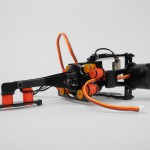
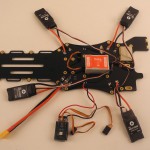
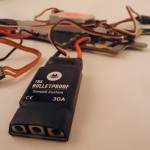
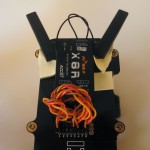
Next, I put the gimbal to the side and started with the frame by soldering the ESCs and the battery connector. I started out with a very fine soldering tip but this did not work and I had to mount a fatter soldering tip which could deliver enough heat. This was fairly easy. And I completed the work on the bottom plate with gluing the Naza flight controller with a 3M patch.

Last step of the today was assembling the Tiger 900kv motors. I removed all the screws on the prop holders and mounted them with loctite to the top of the motors. Then I found out that short silver screws and the cross piece in the package are not used. Instead the motors are directly bolted onto the arms with screws out of one of the bags. The quality of theses screws however gave me headaches. None of my standard screwdrivers had a tight fit. Finally, I used a hex key to tighten the screws on the arms. I did not use loctite for now, as the arms are plastic. But if they come loose I might have to reconsider this.
That’s all for the first part of my build log of the TBS Discovery Pro. So far I am positively surprised about how everything is designed (minus the screws). The official build video is sometimes a bit too fast and I needed to rewind it many many times. Stay tuned for the next part of the build!
Check out the image gallery of the whole build. Or move on the part2, part3 or my 2nd build.
[twoclick_buttons]
Unboxing the TBS discovery PRO
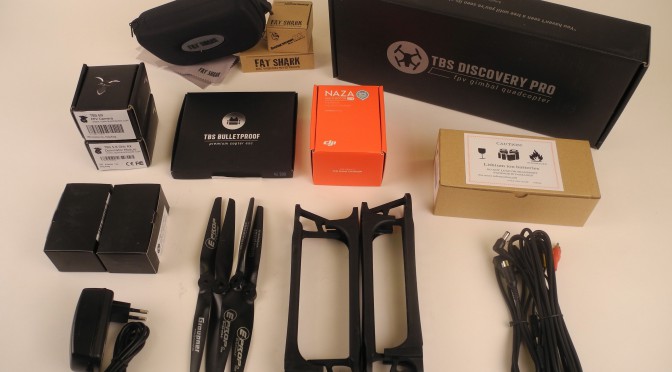
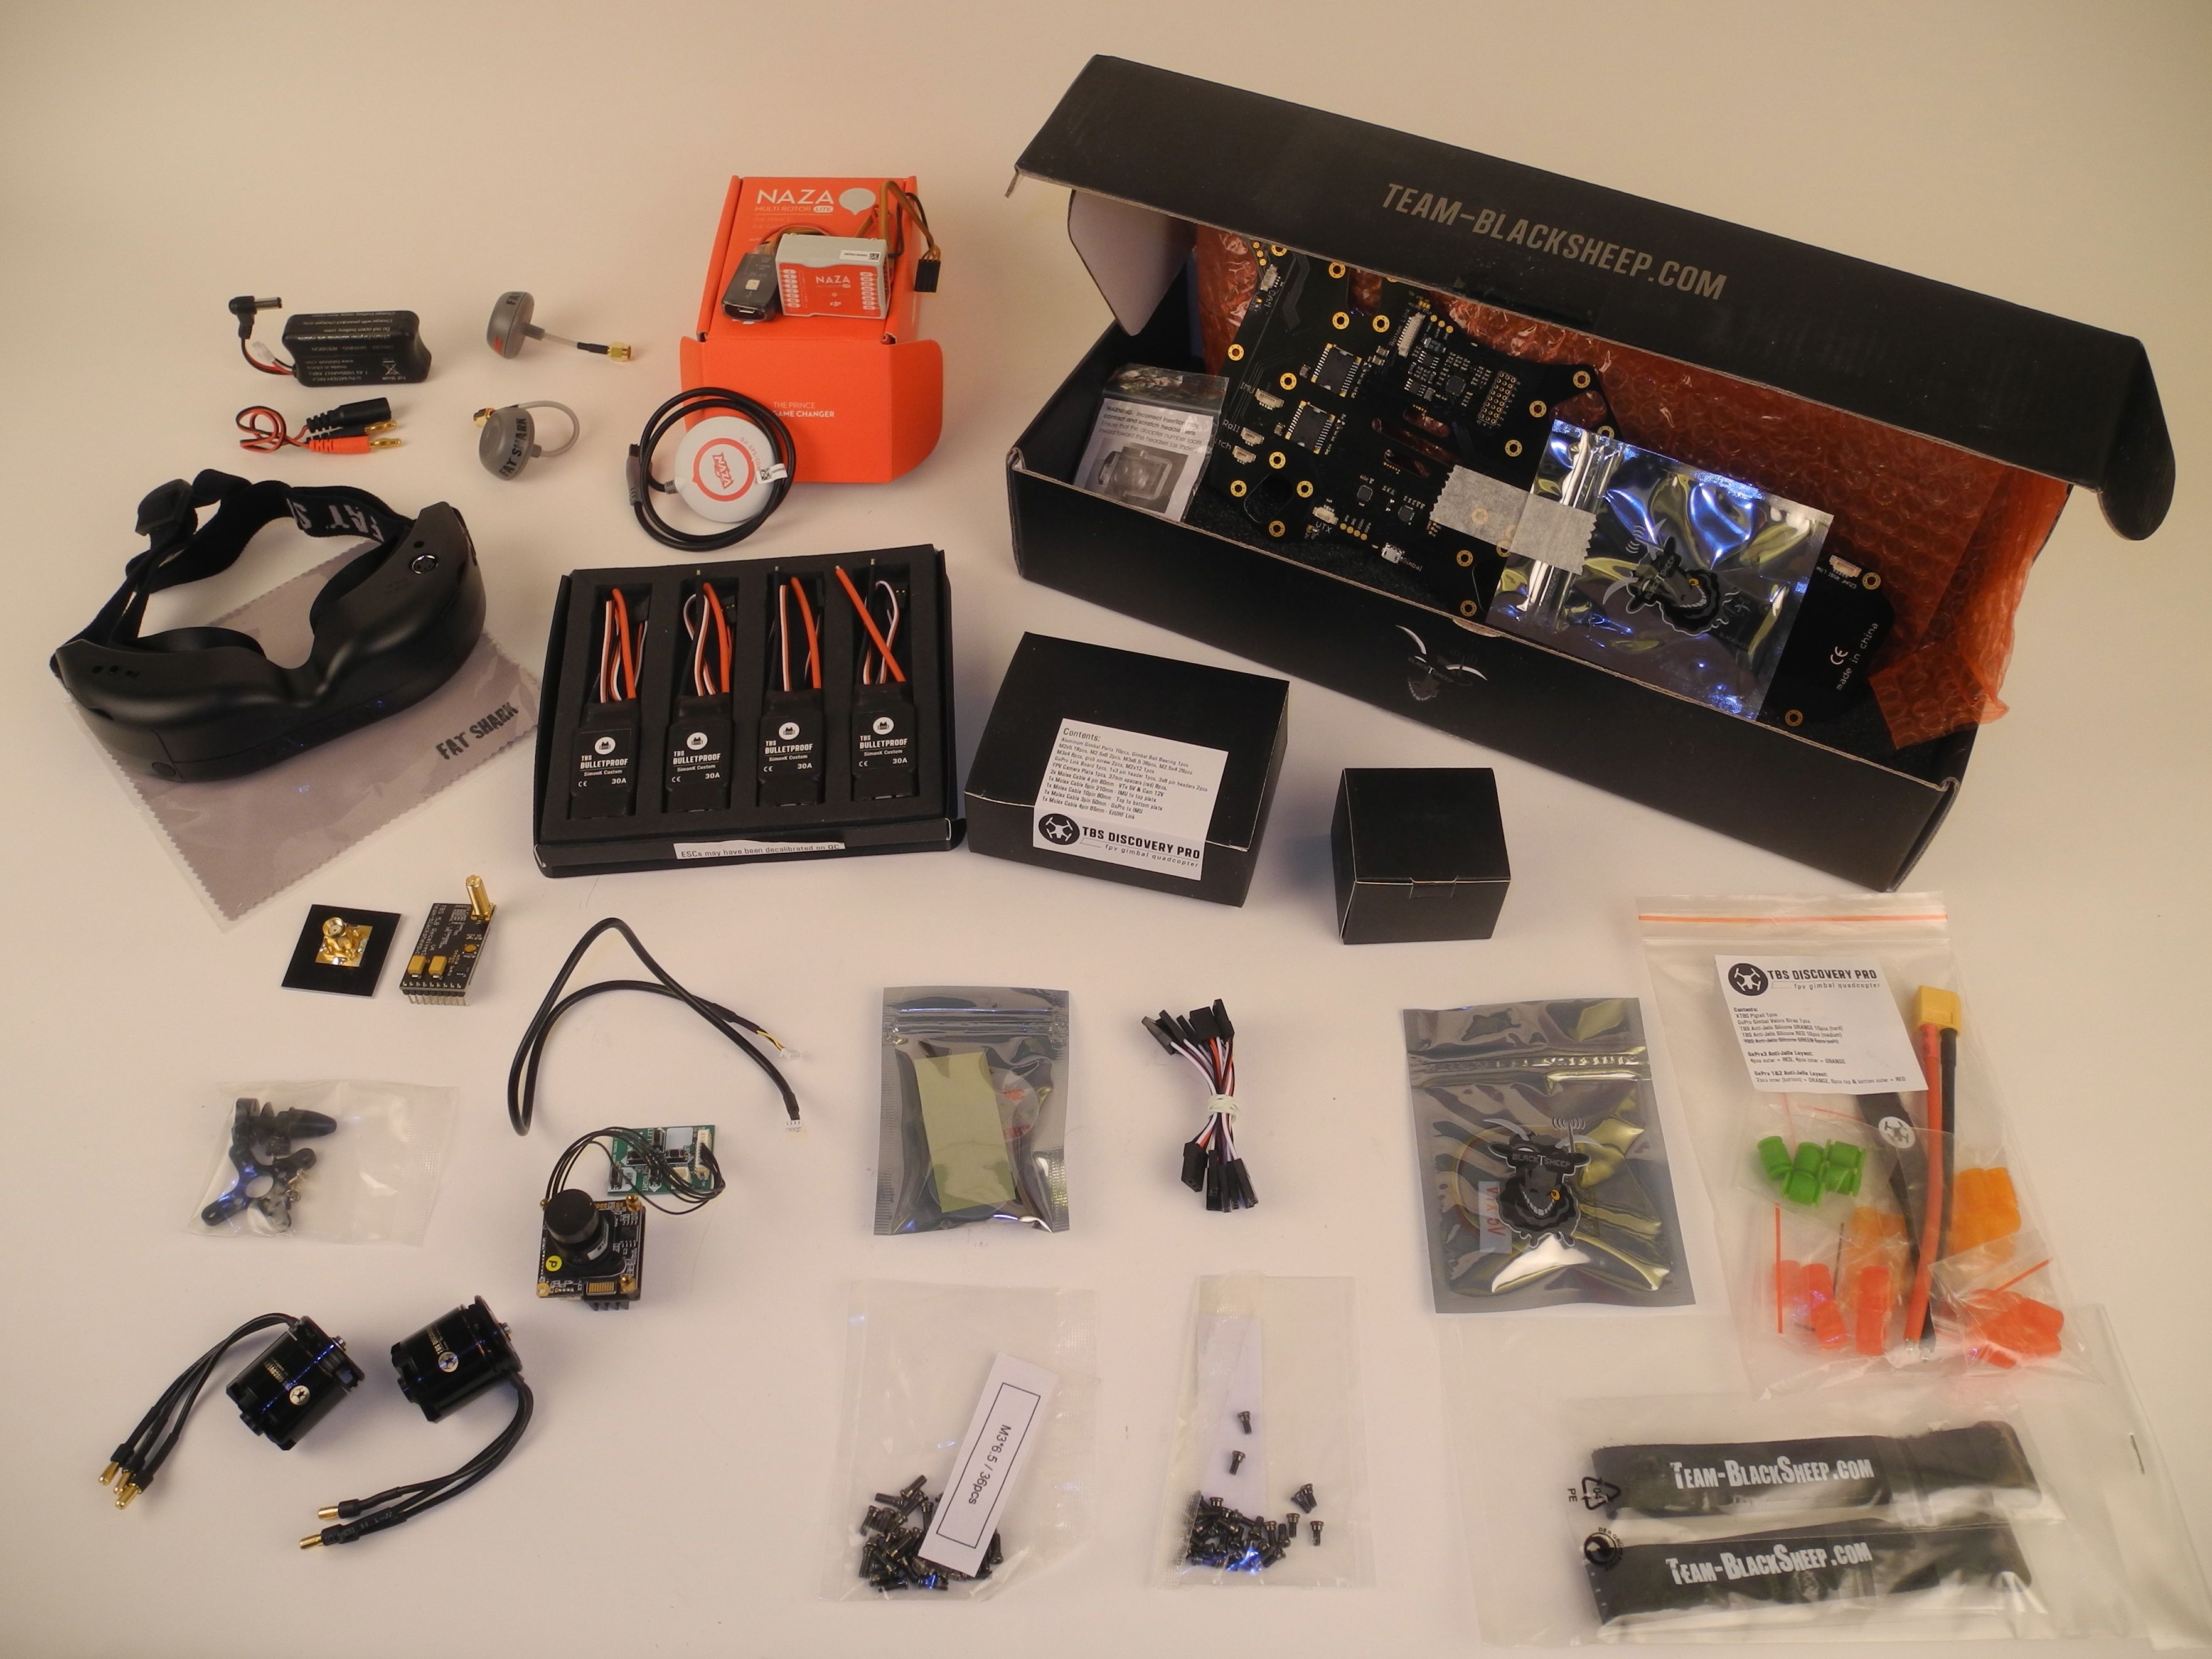
Today, my brand new discovery PRO quadcopter arrived. Hurray! It looks awesome. But have a look yourself!
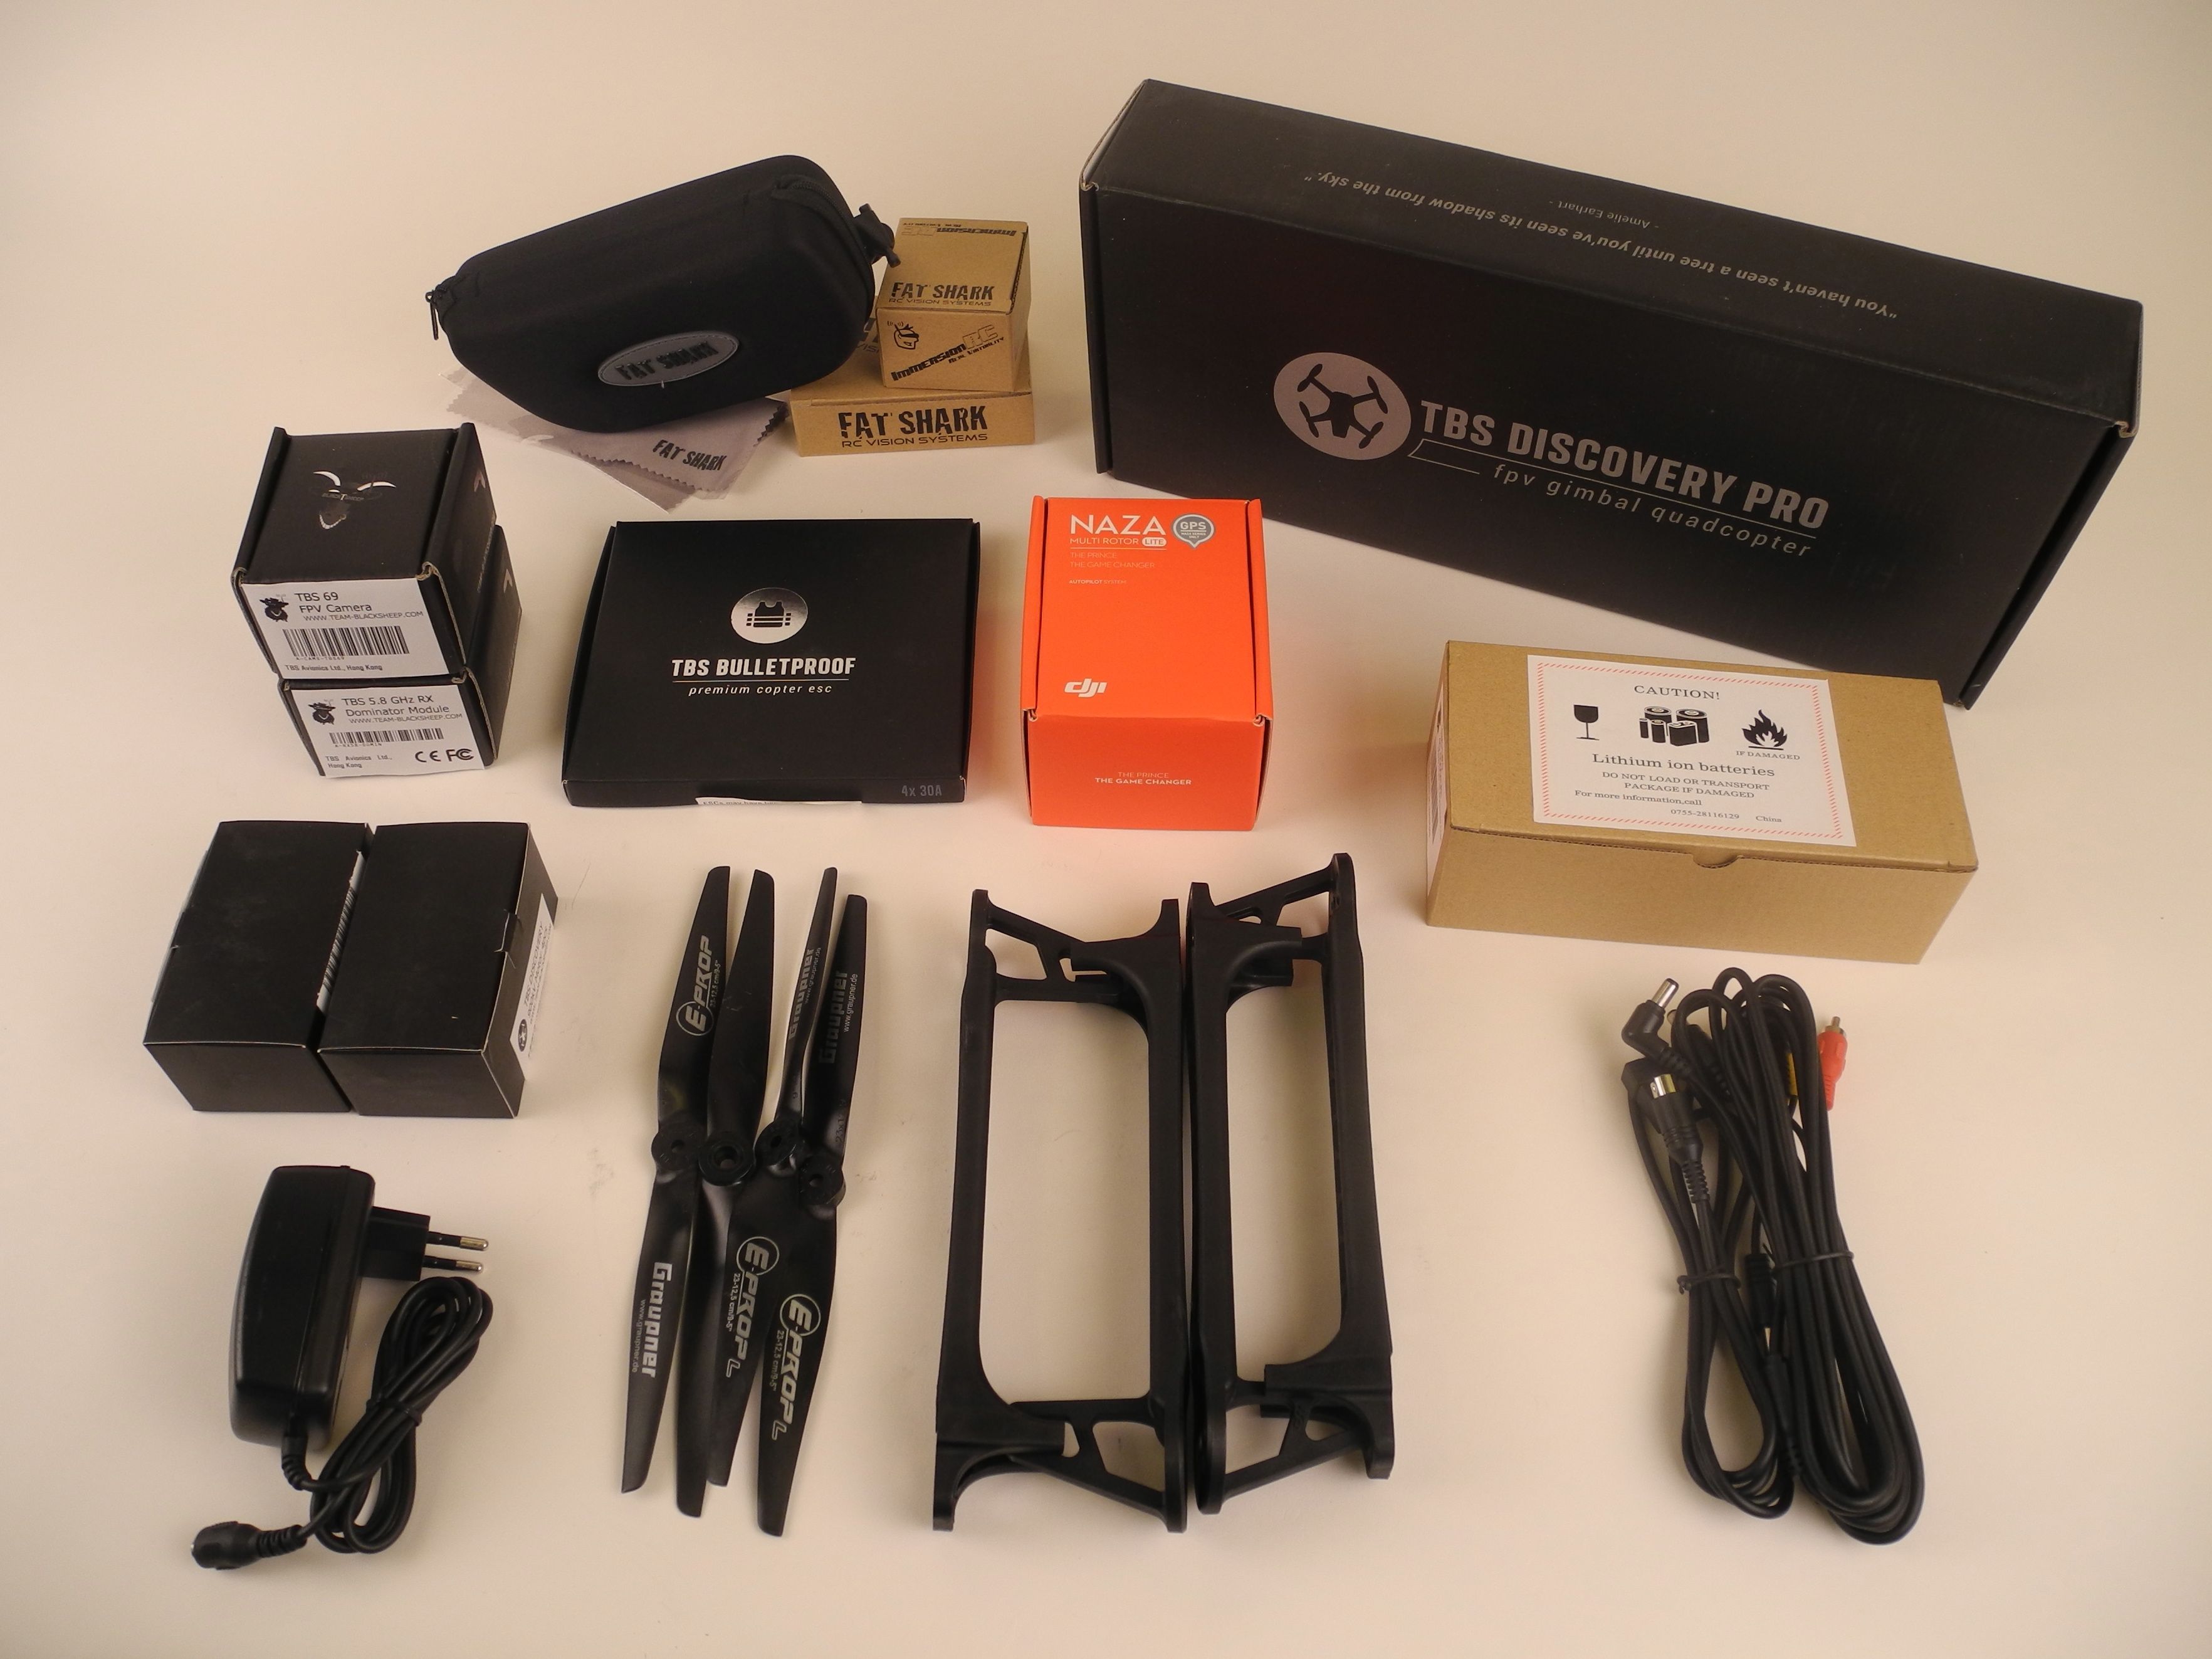
Besides the actual frame kit in the big top left box, I also added goggles, the Naza Light flight controller, arms, props and a 5.8 GHz video link. I’m really blown away by all the beauty. Let’s start the build and get everything assembled and configured!
Shortening the wait for the TBS DISCOVERY PRO
As you might know I am currently waiting for a new copter to arrive. Even though the Phantom is a lot of fun to fly, the new DISCOVERY PRO is going to be the new big thing. It will not only feature full first-person view capabilities but also an integrated camera gimbal. In order to shorten my wait, here a hilarious unboxing video of a lucky new owner.
http://vimeo.com/74729284
This new frame from team blacksheep was released in summer 2013. It improves over their previous model by integrating a two axis gimbal into the frame together with the electronics for video switching, power and gimbal PID control. The frame can be ordered as a kit including propellor motors, ESCs, dji flamewheel arms, a NAZA flight controller and the wireless video transmitter.
As of today the second batch of frames is being shipped to customers. Given the order numbers posted at fpvlab.com, they must be shipping several thousands of these frames at the moment. In order to motivate his packing crew, TBS posted this comment about the video:
Quote by Trappy from TBS:
very funny unboxing video, really well done. I’m going to show this to the lads tomorrow morning, so they know how and where their boxes are being opened
Let’s hope mine is arriving soon, so that I can show you some more nice videos.
[twoclick_buttons]